Reusing a Screen-printed Design from a Sweatshirt

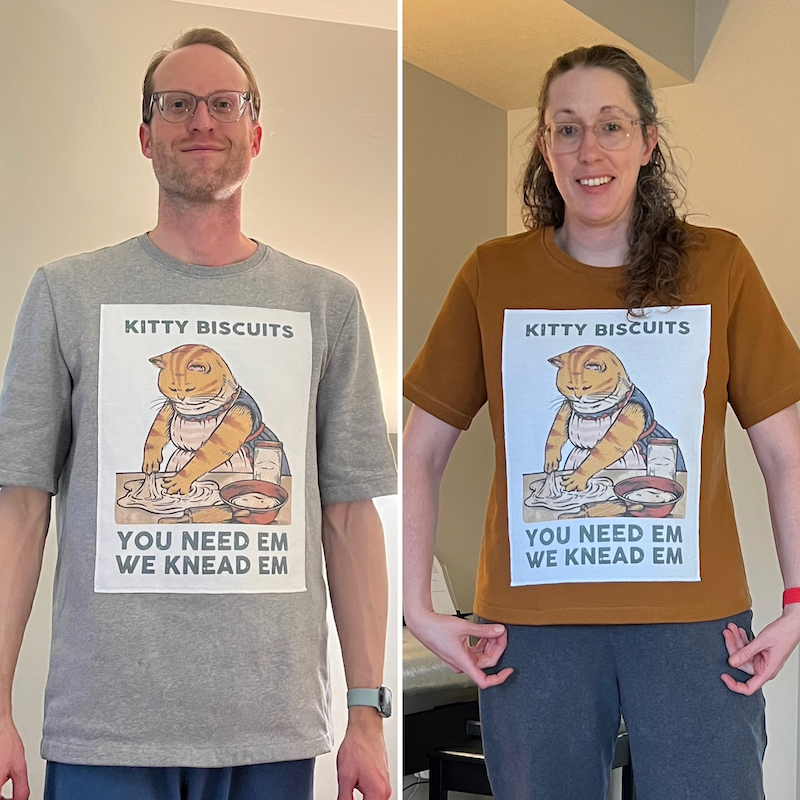
We received adorable sweatshirts as a Christmas present, but the sweatshirts didn’t fit great. Ryan looked like he was wearing an oversized halter top with ¾-length arms, and I looked like I was wearing a too-small dress. Obviously, I needed to save the design and put it on something we could wear! Here’s what I did.

Fabric & Pattern(s)

Organic Cotton Sweatshirt from The Fabric Store

I used our standard t-shirt pattern and tested fit in a cheap fleece first. Our new sweatshirts were made from organic cotton sweatshirting and organic cotton rib from the Fabric Store.

The key was to use a fabric similar in weight and stretch to the screen-printed design. The screen-printed design was on an 8 oz, 50/50 cotton/poly sweatshirt fabric. The organic cotton sweatshirt is 9 oz, 100% organic cotton. I didn’t want to use bamboo or anything with spandex because that would be too different.

Birch Organic Fabrics Sweatshirt Fleece Solids

Another option for fabric could have been Birch Organic fabrics sweatshirt fleece because it is also 9 oz and 100% organic cotton.

Notions

I used Heat ‘n Bond Soft Stretch Lite iron-on adhesive to adhere my screen-printed design to my new sweatshirt. This worked well for the most part. It adhered nicely to the back of the screen-printed design but didn’t adhere well to the front of the new sweatshirt. I had to constantly return to the iron and repress it.

To stabilize my sweatshirt, I applied Sulky Tear-Easy stabilizer to the back side. The stabilizer was absolutely necessary because my machine would not feed without it. I didn’t love cutting away the stabilizer afterward and wish there was a wash away option. I’m not likely to try this again any time soon, so I don’t think it’s worth exploring other options. The stabilizer worked. That’s all that matters.

Sewing Machine Setup

Walking Foot

First, I used a walking foot to keep my layers even and to reduce the potential for warbling. I had to set my machine to the slowest setting and painstakingly stitch.

I set the zigzag stitch to 4mm in width and 2mm in length. If I had used a straight stitch or a tighter zigzag stitch, I worry that the stitches would snap.

Because the fabric is knit, I left the edges raw. The zigzag stitch did not cross over the edge, but was 1/16 inch away from the edge.

Conclusions

The project worked marvelously; the best part is how much we love a short-sleeve sweatshirt. No idea why I didn’t think of this sooner as a style. The new sweatshirts have been washed repeatedly, and everything still looks great.

Leave a Reply

Fill in your details below or click an icon to log in:

WordPress.com Logo

You are commenting using your WordPress.com account. Log Out /  Change )

Facebook photo

You are commenting using your Facebook account. Log Out /  Change )

Connecting to %s

This site uses Akismet to reduce spam. Learn how your comment data is processed.

Website Powered by WordPress.com.

Up ↑

%d bloggers like this: