
Making waterproof jackets has been a 2+ year project, and I’m so happy to have it done. I learned a lot and am excited to tackle more outdoor gear.

Download Pattern
I’ve made our patterns available for download.
Click the colorful button above, and a new tab should open with the Gumroad link. I haven’t included any instructions on construction, and I was lazy and only generated the pattern on 36″ x 48″ paper. I didn’t feel like putting the time and effort into generating a US Letter size version.
Features and Style
This project took time because I was particular about the features I wanted my jacket to have. First, I wanted the shoulder to have a yoke so the seam was not along the top. When wearing a backpack, this area gets a lot of wear and tear, and if a backpack is sitting on top of the seam, it can rub and cause water to leak inside. This is a feature on most RTW rain jackets.
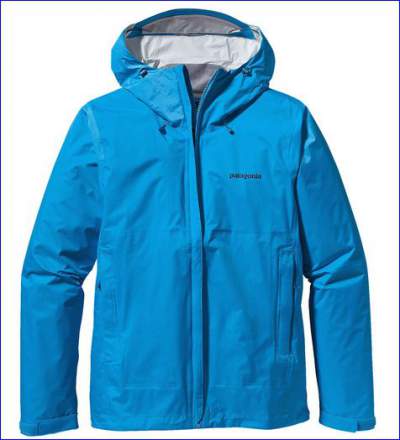
The next feature I wanted was hand warmer pockets along a seam line so I could cover the zippered pocket with a flap. I wanted the same flap over pit zips as well.

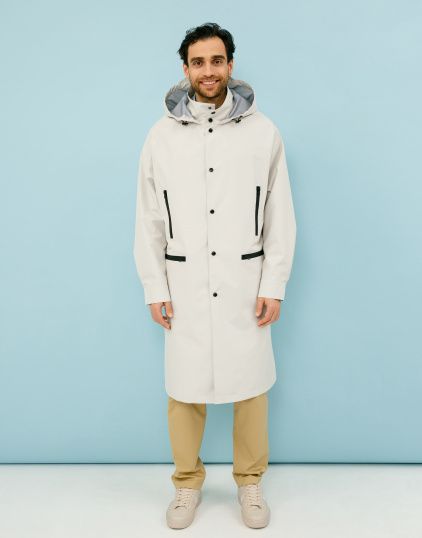
Finally, I wanted the jacket to fall below the hips and a hood that extended far enough to cover the brim of a hat. I spent a lot of time deciding if I wanted a collar plus a hood or just a hood. In the end, I just went with a hood.
Pattern
There are a lot of jacket patterns out there, and no pattern had everything I wanted. Finding a pattern that would work for both Ryan and me was particularly difficult. Here are some pattern suggestions, and this list is by no means exhaustive:
Grasser 823
As a men’s rain jacket with no lining, I had high hopes for this pattern, but the hood didn’t fit well, and I didn’t want exposed zippers. This was the pattern that really started this whole project.
Kwik Sew 4032

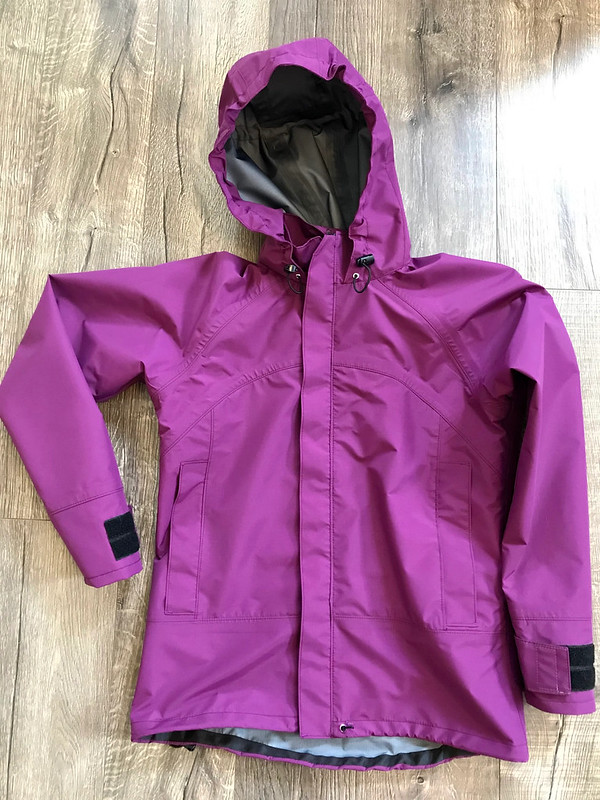
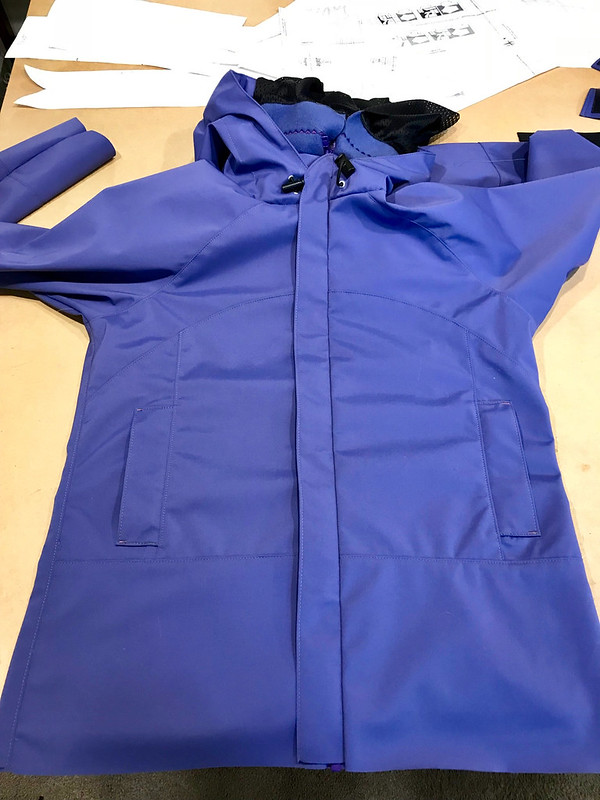
This was the pattern I ended up using because I had already made fleece jackets years ago that fit well. I made a size L for Ryan and myself (42-44 chest, 36-38 waist, 43-45 hip). I used the hood from the Closet Core Anorak as a general template to draft our own hoods. I lengthened the brim, shaped the center panel a little to fit around our hats, and adjusted the center front to include a zipper instead of snaps. I’ll point out other changes below under the alterations section.
Jalie 2679
I didn’t find this pattern until after I finished our jackets, but there are features I like. The one complaint about our jacket is that the curve near the armpit is tight, and impossible to apply seam sealing tape. I wonder if this pattern would be easier to apply seam sealing tape?
Honorable Mentions
Supplies
Waterproof Breathable Fabric
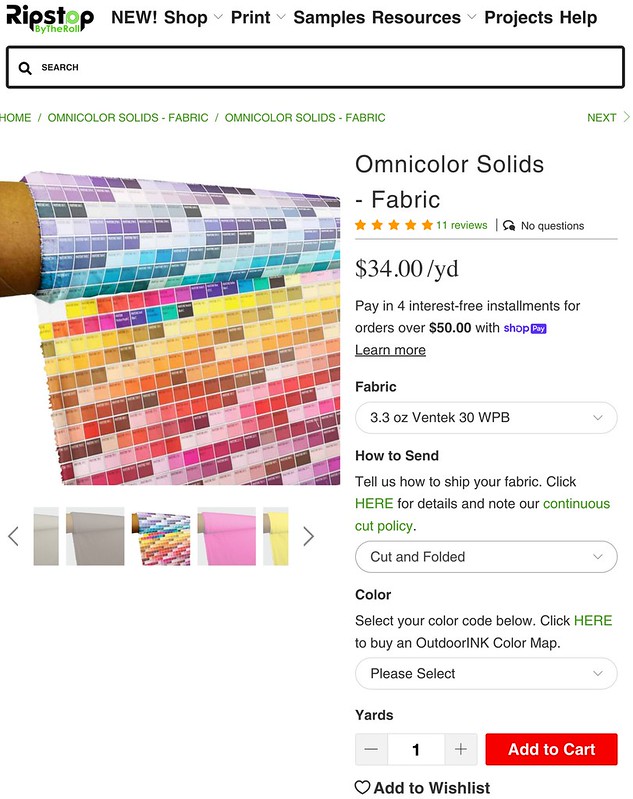
Our jackets used Ripstop By the Roll (RBTR) 3.3 oz Ventek 30 WPB using their Omnicolor Solids print-on-demand feature. For more information about the fabric and why I went with this fabric over other options, check out my previous post.
Notions
Finding zippers was a pain! I used YKK #5 zippers from ZipperSource.com, but honestly, the #5 zippers are too bulky for the pocket and side vent. Zipper Source doesn’t sell #3 water-resistant zippers. I also didn’t order long enough zippers for the hand warmer pocket. Here’s what I would order if I could do it over again:
- Two non-separating 15-inch water-resistant matte black #3 zippers for the arm vents
- Two non-separating,7-inch water-resistant matte black #3 zippers for the hand pockets
- One separating 29.5-inch (30-inch for Ryan) water-resistant matte black #3 or #5 zipper for the front
For the hood, I would try and find plastic instead of metal notions next time. Here’s what I used for each jacket and got everything from Pacific Trimming:
- 1 yard of 3mm elastic cord
- Two 4mm metal bell cord ends (170707)
- Two 4mm flat metal cord locks (170817)
- Six 4mm eyelet grommets
I installed the eyelet grommet using Pacific Trimmings 4mm installation tool kit.
I used approximately 15 – 20 meters of MELCO seam sealing tape for 3-layer waterproof, breathable fabrics.
Miscellaneous
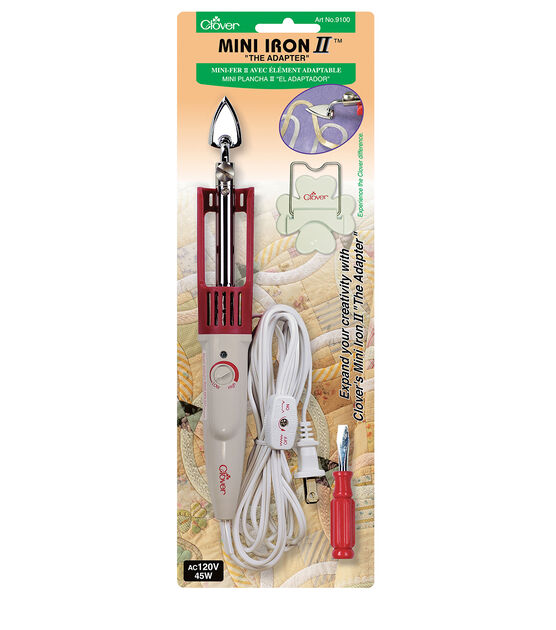
The best tool was purchasing a Clover mini iron for the seam sealing tape. Set the iron to medium; the tape adheres easily after 10-15 seconds of heat. The other tip is to get yourself a small block of hardwood. I used a 2x4x4 piece of untreated maple. Use this small wood block as a clapper and press the seam sealing tape after heating. This quickly dispels the heat and ensures that as the tape cools, the adhesive and fabric bind together tightly.
Cost Breakdown
| Item | Amount | Cost1 |
|---|---|---|
| 3.3 oz Ventek 30 WPB | 3 yards | $102 |
| 1.1 oz Ripstop Nylon | 1 yard | $5.75 |
| 3 mm Elastic Cord | 1 yard | $1.75 |
| 4mm Metal Bell Cord End | 2 | $3.00 |
| 4mm Flat Metal Cord Lock | 2 | $4.00 |
| 4mm Eyelet Grommet | 1 set (includes 12) | $1.25 |
| YKK #5 water-resistant zipper, separating | 29.5 or 30 inches | $16.50 |
| YKK #5 water-resistant zipper, non-separating2 | 2 x 6″ | $25.90 |
| YKK #5 water-resistant zipper, non-separating3 | 2 x 15″ | $29.90 |
| MELCO 3-layer seam sealing tape | 15 meters | $37.35 |
| Gutermann Mara 70 Poly Thread Tex 40 | 1 | $4.19 |
| Organ Microtex Size 14 needles | 10 pack | $1.95 |
| Total | $232.64 |
1 Excluding shipping and taxes
2,3 I should have used YKK #3 instead, as YKK #5 zippers are too bulky and heavy.
I could have saved A LOT, A LOT of money if I had done more research on zippers. Here’s the price list for items I wish I had purchased instead:
| Item | Amount | Cost |
|---|---|---|
| HHH #3 Waterproof Coil Zipper | 2 yards | $5.50 |
| HHH #3 Coil Slider | 4 | $2.20 |
| Mini Cord Lock | 1 pack | $4.25 / dozen |
| 3/32″ (~2.25mm) Shock Cord | 1 | $5 / 25′ piece |
| Cord End Clip | 1 pack | $2.75 / dozen |
Instead of spending $55.80 on non-separating zippers, I could have spent $7.70 if I had bought zipper coils from Ripstop by the Roll (RBTR). That would have saved me $48.10. The switch to plastic notions for the hood instead of metal wouldn’t have changed much in the final cost. I would have also saved on shipping by buying most everything from RBTR.

Subscribe to continue reading
Become a paid subscriber to get access to the rest of this post and other exclusive content.
