
I finished this marshmallowy soft sweater just in time for my birthday! The pattern is the Caramel Sweater from Petite Knit, and it is so lovely. I made a few adjustments to the original pattern, so the front and back were balanced. Otherwise, this pattern is well-written.
Project Information
Here’s the size information about the Caramel sweater.
Size range | XS – 3XL |
Bust circumference | 31½ – 51¼ |
Design ease | 4-6 inches |
Knitting method | Top-down |
With my bust circumference of 39″, I choose to knit a size L. That will give me about 4 inches of ease.
Pattern | Caramel Sweater by Petite Knit |
Made for | Naomi |
Size | L (43 inches finished bust circumference) |
Needle | US 6 (4.00mm) |
Gauge | 21 STS / 28 rows = 4 in in stockinette stitch after blocking |
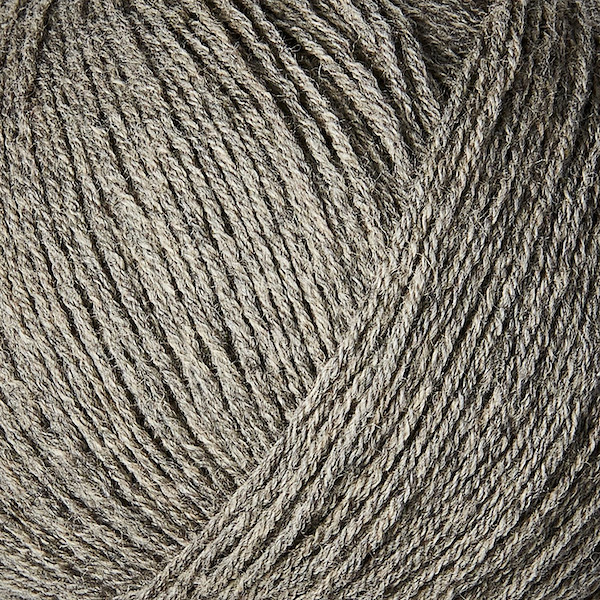
Yarn | Merino by Knitting for Olive (50 g = 250 m) held together with Soft Silk Mohair by Knitting for Olive (25 g = 225 m) |
How much? | Merino, 5 balls (300 g), 1250 m Soft Silk Mohair, 5.6 balls (150 g), 1250 m |
Colorway | Dusty Moose |

Abbreviations
- RS = right side facing
- WS = wrong side facing
- K = knit
- P = purl
- ST (STS) = stitch (stitches)
- DS = double stitch (German short rows)
- M1L = make one left
How I Determined the Correct Number of German Short Rows
Given the knitting gauge that 28 rows = 4 inches, I calculated the number of rows I needed to get approximately 2.5 inches of height to my back neckline compared to my front neckline.
I needed to round up or down to the nearest even number since you work 2 German short rows at a time. If I rounded up to 18, I would need to work an odd number of German short rows on the left and right sides. In other words, if I added 18 rows, I would work 9 rows for the right side and 9 rows for the left side. Nine is an odd number, which would add an odd number of stitches to my sleeve count. I didn’t want to do that because I didn’t want to redo the number of stitches for the neckband.
I decided to round down to 16 rows, so I worked 8 German short rows for the left side and 8 German short rows for the right side.
The pattern includes 12 German short rows, so I only needed to add 4 more (2 for the right side and 2 for the left side). Adding these German short rows makes sure the front and back hemline are balanced.

Pattern Alterations
I followed the instructions for casting on and knitting the neck. On page 3 of the instructions, I divided my yoke as follows: 17 STS right back, place marker, 1 raglan stitch, place marker, 12 STS right sleeve, place marker, 1 raglan stitch, place marker, 34 STS front, place marker, 1 raglan stitch, place marker, 12 STS left sleeve, place marker, 1 raglan stitch, place marker, 17 STS left back. The beginning of the round marker is placed mid back.
Here’s where I deviated from the pattern:
Neck Shaping
Work German short rows to shape the neckline while at the same time beginning the raglan increases.
- Step 1 (RS): Knit across right back, M1R, knit the raglan stitch, M1L, K8 (2 STS increased). Turn.
- Step 2 (WS): DS, purl to the beginning of round marker (mid-back).
- Step 3 (WS): Purl across left back, M1R, purl the raglan stitch, M1L, P8 (2 STS increased). Turn.
- Step 4 (RS): DS, Knit to the beginning of round marker (mid-back).
A total of 4 STS have been increased across Steps 1-4.
- Step 5 (RS): Knit across right back, M1R, knit the raglan stitch, M1L, knit to the DS, work the DS, then K2 (2 STS increased). Turn.
- Step 6 (WS): DS, purl to the beginning of round marker (mid-back).
- Step 7 (WS): Purl across left back, M1R, purl the raglan stitch, M1L, knit to the DS, work the DS, then P2 (2 STS increased). Turn.
- Step 8 (RS): DS, Knit to the beginning of round marker (mid-back).
A total of 4 STS have been increased across Steps 5-8.
Then I work the pattern as written:
- Step 9 (written as Step 1 in the pattern) (RS): Knit across right back, M1R, knit the raglan stitch, M1L, knit across right sleeve working the DS, M1R, knit the raglan stitch, M1L, K2 (4 STS increased). Turn.
- Step 10 (written as Step 2 in the pattern) (WS): DS, purl to the beginning of round marker (mid-back).
- Step 11 (written as Step 3 in the pattern) (WS): Purl across left back, M1R, purl the raglan stitch, M1L, purl across left sleeve working the DS, M1R, purl the raglan stitch, M1L, P2 (4 STS increased). Turn.
- Step 12 (written as Step 4 in the pattern) (RS): DS, Knit to the beginning of round marker (mid-back).
A total of 8 STS have been increased across these steps.
Now work Steps 9-12 again, but each time the short row turn is worked closer towards the middle of the front of the sweater, which shapes the neck edge by raising the back of the neck. Work as follows: Work steps 9-12 another 5 times, but turn 2 STS after the last turn each time (i.e., work the turning stitch from the previous turn, then work 2 more STS towards the middle of the front before turning again).
There are 152 STS (8 more than the original pattern) on the needles: 25 right back, 1 raglan, 26 right sleeve, 1 raglan, 46 front, 1 raglan, 26 right sleeve, 1 raglan, and 25 left back.
The neck edge has now been shaped with short rows, and you are back at the beginning of the round.
I followed the instructions for the rest of the yoke. I ended up with 384 stitches on my needles (8 more than the original pattern).

Divide for Sleeves and Body
The stitch count is slightly different for dividing the stitches for sleeves and body and casting on new stitches at each underarm. Here’s the stitch count:
Knit 54 STS (right back), knit the raglan stitch, place the next 84 STS on a stitch holder or length of leftover yarn (right sleeve), cast on 6 new STS at the underarm using the backward loop method, knit the raglan stitch, knit 104, knit the raglan stitch, place the next 84 STS on a stitch holder or length of leftover yarn (left sleeve), cast on 6 new STS at the underarm using the backward loop method, knit the raglan stitch, knit 54 STS (left back).
Place a marker in the middle of the 6 underarm STS on both sides. The beginning of the round is now the marker on the right side.
There are now 228 sts on the needles for the body. This is the same number of stitches as listed in the pattern.
The extra 8 stitches are distributed as follows: 2 right back, 2 right sleeve, 2 left sleeve, and 2 left back. Therefore, I have 4 extra stitches for the body. However, when I casted on stitches under the arm, I only casted on 6 instead of 8. That’s 4 (2 right underarm, 2 left underarm) fewer stitches. The body now has the correct number of stitches.
I followed the pattern and completed the body.
Sleeves
There are 2 more stitches on each sleeve, and I casted on 2 fewer underarm stitches, so in the end, I should have the same number of stitches as the pattern.
Place the 84 STS for one sleeve that are on hold back on the needles. Pick up and knit 6 STS along the 6 STS that were cast on at the underarm for the body. There are now 90 STS on the needles. Place a marker for the beginning of the round in the middle of the 6 underarm STS.
Again, I followed the pattern and completed both sleeves.

Conclusions
It’s tough not to buy more yarn in another colorway and knit another sweater. I need to test drive this sweater first to make sure I can tolerate wearing mohair directly on my skin. I’ve not had any problems with my mohair beanie or sweater, but I usually wear a long-sleeve shirt under my sweaters.
Seriously, these color options are so delightful!
Leave a Reply