Comox Trunks Pattern Hacks

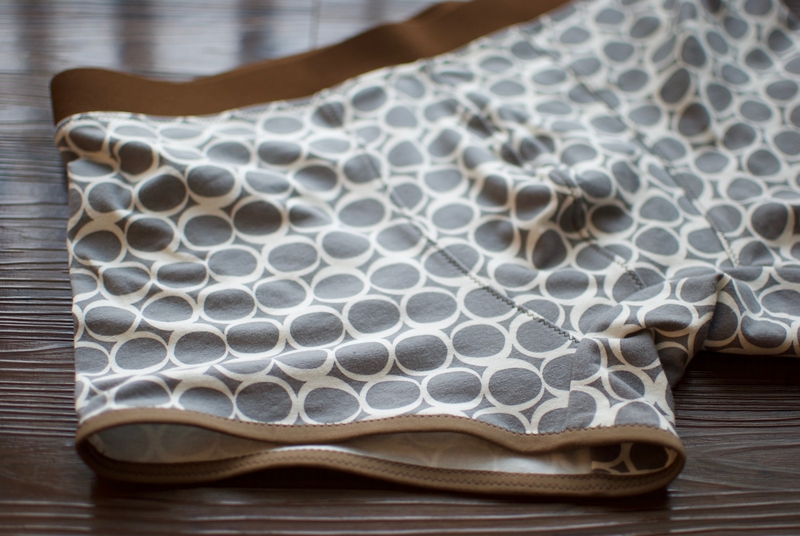
This pattern makes me extremely happy!! I had a whole bunch of sewing goals this year (learn how to sew: bra, pants, button-down shirt, t-shirt, etc.), and I think this one gives me the most satisfaction. Probably because this project isn’t for me, but for my husband and I get to see him beam every time he wears something I make for him. After test driving knit fabric from Riley Blake, Art Gallery, Nosh, Robert Kaufman, etc., the best fabric is by far Art Gallery. The knit is slightly heavier than Riley Blake and Nosh, so the edges don’t roll like crazy. It also has great stretch recovery. My second choice would be Nosh fabric, but I didn’t want to wait 1+ month for it to ship from Europe. I will probably make a “summer” set of underwear using Nosh fabric, because it is much lighter weight, soft, and has incredible stretch recovery.

This pattern uses a measly 1/3 yard of fabric. Folding selvage edges together, I am able to lay out all the pieces basically straight across. The first pattern hack was to exclude the front fly. Consider it a man’s personal preference, I was asked to remove it. Instead of cutting 2 front pieces, I cut 4.

I used my serger (cough yes it’s a new Christmas gift cough) to sew the seams. For the loopers, I used stretch thread. This thread is awesome for sewing knits. Since the thread is stretchy, you really don’t have to worry about snapping seams if you stretch the seams too much. It also creates a much softer seam, since the thread is fluffy and soft. Basically, all those wonderful seams you find in athletic clothing, they use stretchy or wooly thread. My other thread was just regular serger thread.

With the right sides together, sew the front pieces together. Do you see the waviness in the one on the left, if you adjust the differential feed on your serger, you can remove a lot of that waviness. The one on the right isn’t wavy. I adjusted my different feed to 1.3. Another pattern hack, I stitched my seams down to reduce irritation and rubbing. I don’t do a “traditional” top stitch, but instead stitched with the serger seam showing. For my pseudo topstitch I used even softer and fluffier thread, wooly nylon thread. By centering my zigzag stitch across the serged seam, I’m able to get a really nice topstitch. If you stitch your serged seam down the same way on both pieces, then when you put the two pieces wrong side together, your seam will be perfectly nested, one seam going to the right and one going to the left.

I find it extremely helpful to baste stitch the two front pieces together within the seam allowance. Trust me, it makes the rest of the underwear construction that much easier. By sewing the two front pieces wrong side together, you are eliminating any central seam! This pattern hack is definitely a nice luxury. No irritating central seam.

Following the instructions, sew the front piece to main shorts and then the bottom to the main shorts. I again pseudo topstitched all my seams so they were pushed towards the hips or outwards. Can I just say how awesome this pattern is to have no irritating seams?! And by adding this little topstitching touch, you are creating little to no chafing possibilities.

In the spirit of making the most comfortable pair of underwear ever, I also pattern hacked the bottom gusset to have no exposed seams as well. I found it hard to photograph the steps, but essentially you sandwich your underwear between the two bottom gusset pieces. Arrange the layers like this, from bottom to top: the crotch gusset should be right side up, the main short should be right side up, and the outer gusset piece right side down. In other words, your two gusset pieces are right side facing together with the main short piece in between. If that wasn’t difficult, once you have the one side completed, you have to do this confusing tootsie roll thing to get the other side lined up correctly. If you have ever sewn a shirt yoke using the fancy yoke trick, you essentially do the same thing, but with the underwear. You will still sandwich the other main short piece between your two gussets and when it’s done, you can pull the underwear out from the roll through the gusset side opening. When done, the two seams along the gusset are neatly hidden!!

I also flat ignored how to attach the waistband. After sewing the two ends of the waistband, I attached the waistband using a stitch, fold, and stitch method that I learned when I made my bras. Align the edge of your elastic to the raw edge of your fabric, right side together. Serger this edge making sure to not cut your elastic. Actually that sounds crazy intimidating, but essentially if your shorts are on the bottom and elastic is on top, you can see your elastic and make sure you aren’t cutting it and you can leave that knit edge peeking out from the bottom. Then when you fold your elastic band up, the serger seam gets pressed down. Using a zigzag stitch, stitch the serged seam down pressing it down (obviously you wouldn’t want to try to fold your elastic up). In the end you have a nice flush elastic waistband.

Ok, so I hacked this pattern to death, but in the end it was so worth it. The last pattern hack was to add fold over elastic to the leg openings. The pattern says to just fold the edge under and stitch, but after a few hours of wear, the leg openings are stretched and distended regardless of how stretchy the material. To stabilize the leg opening, I added really nice matte brown 3/4″ fold over elastic. Don’t ask, but I found this elastic at Diaper Sewing Supplies. I think the shiny fold over elastic is irritating and not totally appropriate for men’s underwear. I mean, sparkly goodness has its place, but men’s underwear may be a bit of a stretch (giggle). So there you have it, tons of sweet pattern hacks to make the absolute best pair of underwear you could ever have!


Notions

4 thoughts on “Comox Trunks Pattern Hacks

Comments are closed.

Website Powered by WordPress.com.

Up ↑