Did you know that corn is actually a fruit! Weird, huh?! Given that I no longer seem to have an allergic reaction to fresh sweet corn, I’ve been slowly introducing it back into my diet. I love grilled summer squash with corn and avocado and salty farmer’s cheese like cotija cheese. In trying to prep for the long winter, I bought 12 ears of corn for a measly $5 from a farmer’s stand (for those curious the one right next to Allred’s Orchards stand). Their corn is reliable and delicious. I’ve found some problems getting corn from the Salt Lake Farmer’s Market. At the SLC market, the tops of their corn have always been rotted out and eaten by earworms. Not that is a problem, but it does reduce the number of kernels and limits the usability of the ear of corn. We’ve gotten great results going to our local farm stand.
I debated about how to preserve our corn. We have very limited freezer space and getting another freezer isn’t a possibility at the moment. However, canning corn is so tedious and we are running out of space for our canned goods as well. I figured freezing corn wouldn’t take up too much space in our freezer. We could always jam it between the frozen apricots and cherries or in between our frozen rhubarb. The debate was to freeze the corn on the cob or off the cob. I read on the internet and I would have to agree, freezing corn on the cob will result in a super mushy and nasty ears of corn later. I decided to freeze the corn kernels instead.
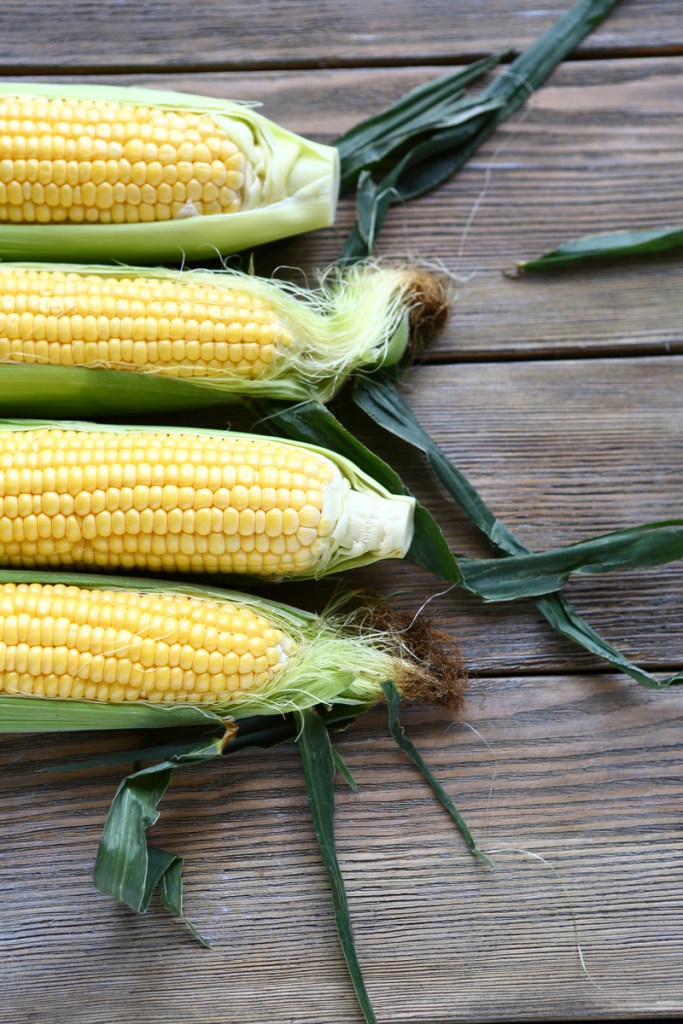
First shuck your corn and then cut the corn off the cob. Both steps are really easy and not too difficult. You don’t need any fancy gadgets or contraptions. Before freezing your corn, you will want to quickly blanch them in boiling water for 4 to 6 minutes and then shock them in ice water to stop the cooking process. I took an extra freezing step to make sure I had nice separated corn kernels. I lined two jelly roll pans with wax paper and evenly spread my blanched corn on the pans. I placed the pans in the freezer overnight to initially freeze the corn. The next day I was able to remove the frozen corn and place the corn in vacuum sealed freezer bags for long-term storage. If I would have just put the blanched corn directly into the vacuum sealed freezer bags, the corn kernels would have frozen in a solid mass. The problem with freezing stuff in a large mass is that the inner part of the mass may not actually freeze. Remember that ice is a wonderful insulator and the thicker something is frozen the more likely the inner part isn’t actually frozen (re: MythBuster’s Ice Cannon episode).

Subscribe to continue reading
Become a paid subscriber to get access to the rest of this post and other exclusive content.
