
As promised, here’s my detailed guide to sewing a t-shirt, including how to finish the back neckline with binding for a professional touch.
Setting Up your Machines
Serger
I use my serger for most of the t-shirt construction. While I don’t fuss about matching my serger thread to my fabric, I make sure to use the recommended needle and thread for my machine.
A few tips:
- Set your differential feed to 1.5 or higher to prevent the knit fabric from warbling.
- My serger stitch width is 3/8 inch (1 cm). This will be important later when attaching binding to the shoulder seams and back neckline.
Regular Machine

For attaching binding to the shoulder seams and back neckline, I use my regular sewing machine with the following setup:
- Needle: A brand-new super stretch needle to prevent skipped stitches.
- Tensions: Lower the presser foot tension and thread tension to handle multiple fabric layers. Test adjustments on scraps to get it just right.
- Thread: Match your spool and bobbin thread to your t-shirt color for a neat finish.
Coverstitch Machine (Optional)
To finish hems, you can use a lightning or zigzag stitch on your regular machine, twin needles, or a coverstitch machine if you have one. If using a coverstitch machine, hold off on setting up your thread. You’ll transfer threads from your regular machine once it’s time to hem.
Materials and Tools:
Here’s what I used to make my t-shirts:
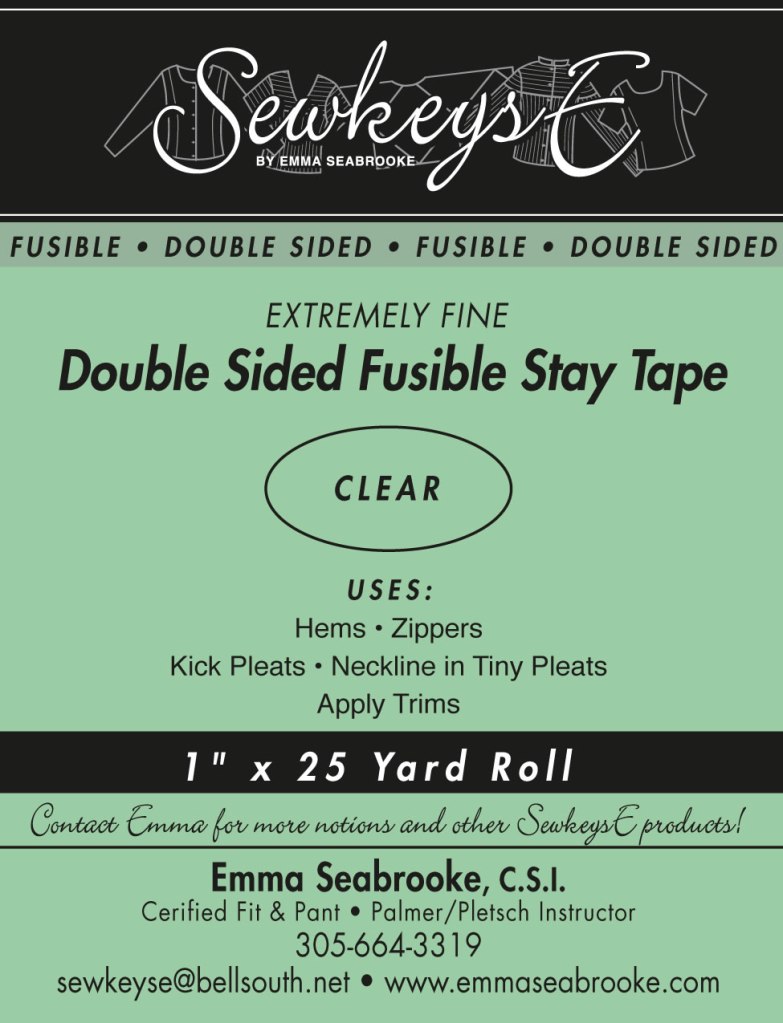
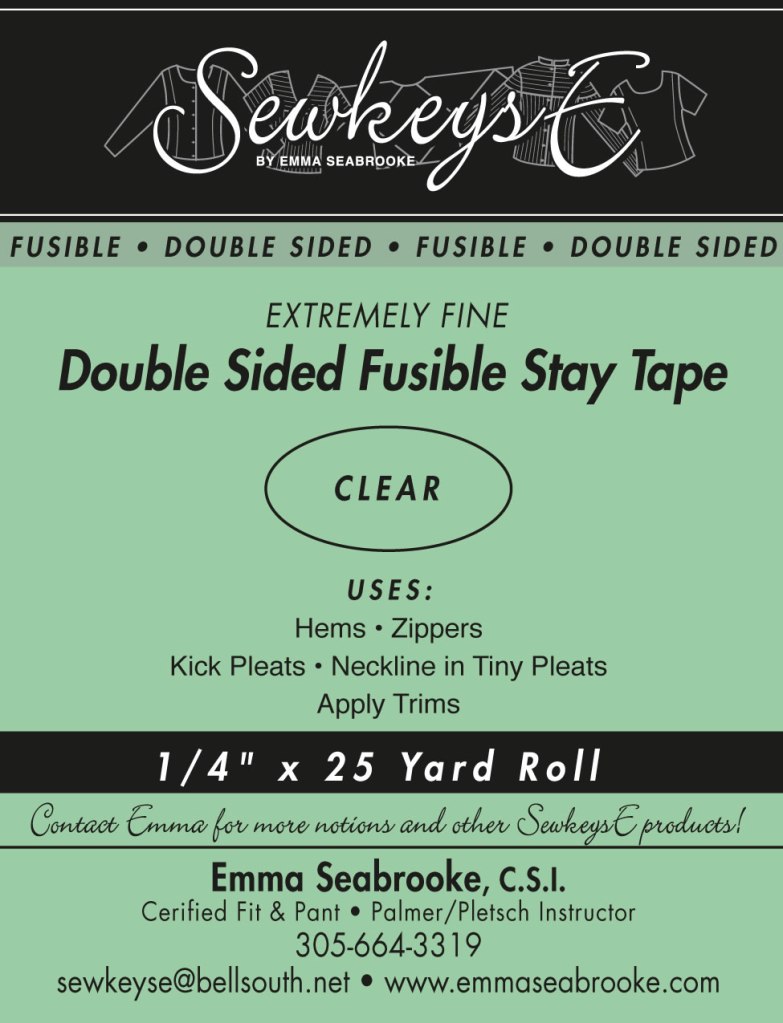
I rely on both 1/4 inch and 1 inch Extremely Fine Double Sided Fusible Stay Tape from SewkeysE. It’s a game-changer! I had a sewing tutor for my first garment, a t-shirt and she introduced me to this stuff. It’s been a staple in my toolkit ever since.
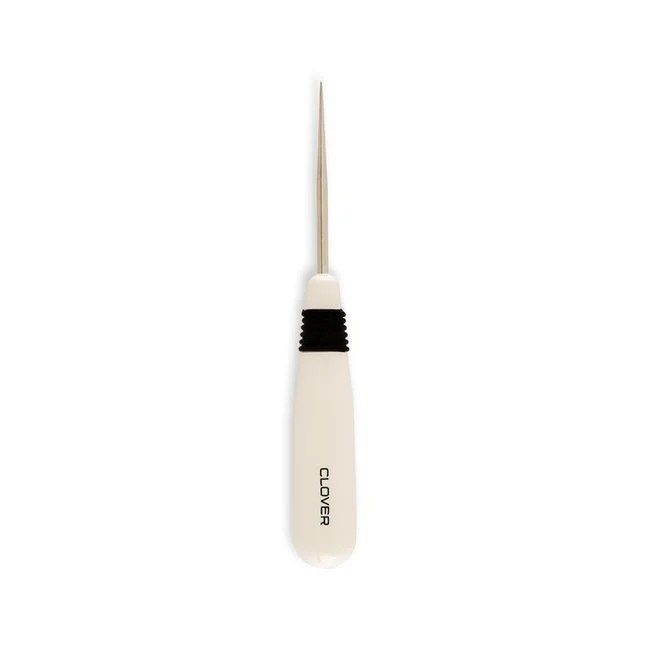
I also found having a tailor’s awl helpful, but it isn’t necessary. When working with the fiddly stuff, it’s nice to have a very precise tool for holding and manipulating fabric.

Subscribe to continue reading
Become a paid subscriber to get access to the rest of this post and other exclusive content.
