I’ve postponed this blog post for months now because I don’t know precisely what I want to convey. Drafting a pattern from a duct tape body form isn’t exactly easy-peasy, and I’ve spent months tweaking my self-drafted pattern. I’ve got no clear cut answer for how I went from a block form to a pattern for these pants. There was a lot of guessing and tweaking and comparing. I used True Bias’s Hudson pant pattern as a template.
Given some of the recent discussions on Instagram about sizing and fit I thought it might be enlightening for people to see that just because you “fit” within a standard size range, doesn’t mean the pattern will fit you. In True Bias patterns, my measurements are an exact size 14, waist 34.5 inches and hips 42.5 inches. However, my final pattern which I feel is a perfect fit for me bears little similarity with the original Hudson pant pattern. I’ve gone way beyond a small little tweak here and there. If I were to alter the Hudson pant pattern, I would have to make changes of 4+ inches.
In the image below, the Hudson pattern is in blue, and my pattern is in red. The differences are mind-boggling, no?

Hopefully, this post helps dispel the myth that sewing patterns will always work on a “standard” body size. I don’t begrudge the pattern designers at all, not even a little bit, because I can’t expect them to make a pattern that works for all shapes and sizes. If sewing patterns fit with little to no alterations, then I’d probably fit in RTW clothes and never sew in the first place. I sew because RTW clothes don’t fit. I, therefore, expect that patterns are also not going to fit, but at least I’m in control and can make clothes fit. I love the process of altering patterns and trying to make things fit my body.

IF YOU FOUND THIS POST HELPFUL, CONSIDER SUPPORTING MY WORK BY SIGNING UP FOR A PAID SUBSCRIPTION.
POSTS OLDER THAN 3 MONTHS ARE NOW FOR SUBSCRIBERS ONLY — YOUR SUPPORT KEEPS THIS SPACE GOING.
INTERESTED IN SUBSCRIBING TO RECEIVE NEW POSTS IN YOUR INBOX?

Wow, amazing job! I am so impressed with your alterations. I just sewed a pair of Hudson pants for my husband, but he actually did the alterations himself to remove the drop crotch. (His mom was a clothing designer so he grew up learning how to do this stuff; useful to have him around the house!). This post makes me want to learn and understand so much more about how to do this.
Since you have sewn both the men’s and women’s versions of these pants, would you say there are huge differences between the two? I love my husband’s Hudson pants so much that I want some for myself, but am wondering if it’s worth it to buy the women’s version or if I could work from the men’s instead. I mean, I already have it :)
There’s some difference between the men and women’s pattern but mostly just in the shape of the torso (hips and crotch area). If you are comfortable with making alterations, then you should be able to alter the men’s version to fit you.
Great post! Great fit! Great new pair of pants! Love this! <3
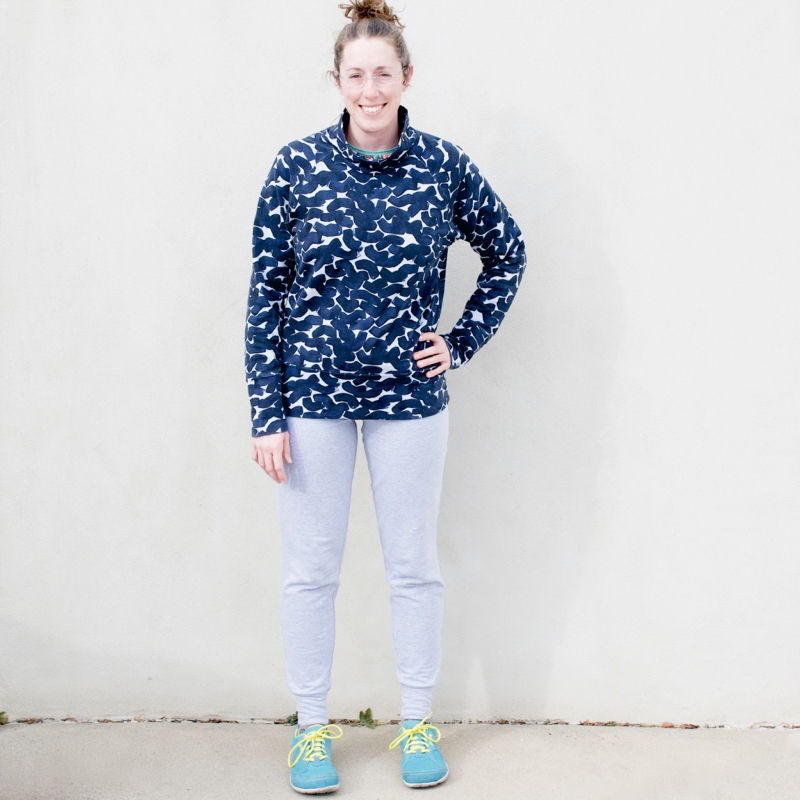
Should I admit I’ve worn these nearly every day since making them? They are so incredibly comfortable.
Wow those changes are pretty extensive. I’d be interested to hear more if you’re able.
What would you like to know? I tried altering the pattern years ago but could never get it to work. I actually found it easier to start from my pattern block I created from my duct tape sloper and draft a pattern from that.
I remember your duct tape sloper. How does that translate into a flat pattern?
I just cut the duct tape sloper and got my flat pattern from that. Took it a couple of tries to make sure I cut it apart correctly.
I like the diagram showing the differences. I make some similar adjustments to you in the front and back rise (though I also have to scoop out a back rise a bit). Looks like you got a great fit!
I wish I could describe how to make the alterations but at some point if you have to alter something more than an inch you might just want to abandon the pattern. 🤷♀️