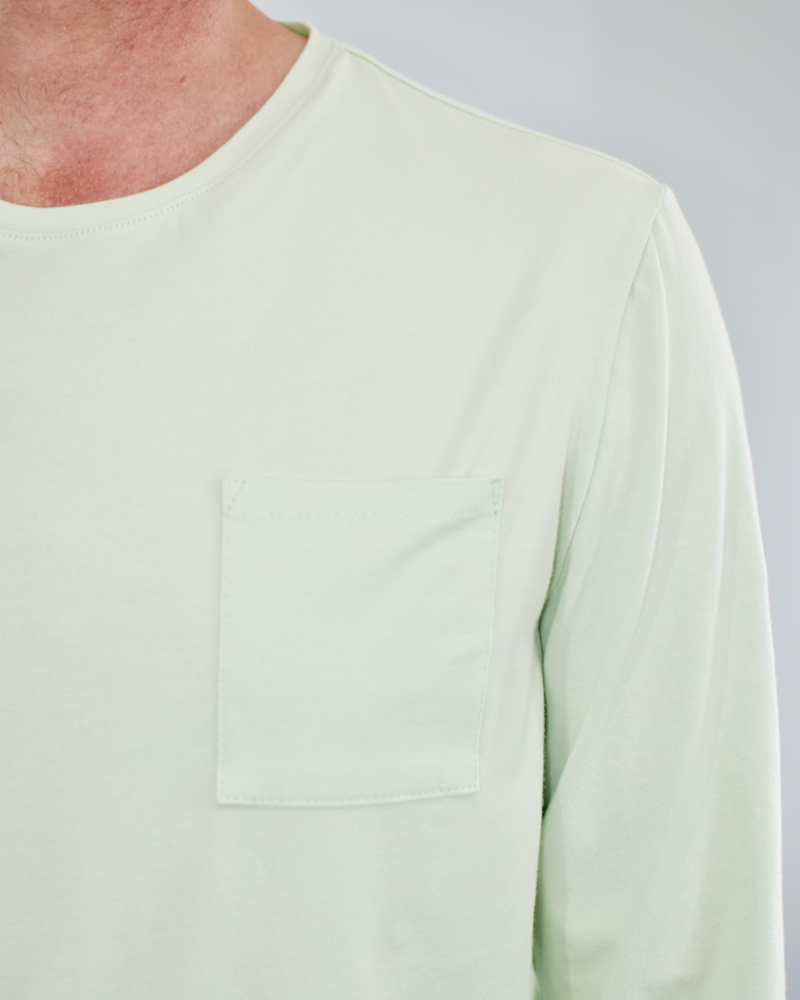
I know it’s been a bit since I’ve posted anything. I got buried with prepping and teaching a new university course. The semester is not quite over, but I’m getting close to freedom. At the end of September, I posted a picture of a t-shirt pocket on Instagram that got a lot of attention. One thing requested was that I make a tutorial on how I get such great looking pockets. I thought this would be an easy way to get back into the groove of blogging. So here’s my method for adding a pocket to a t-shirt.
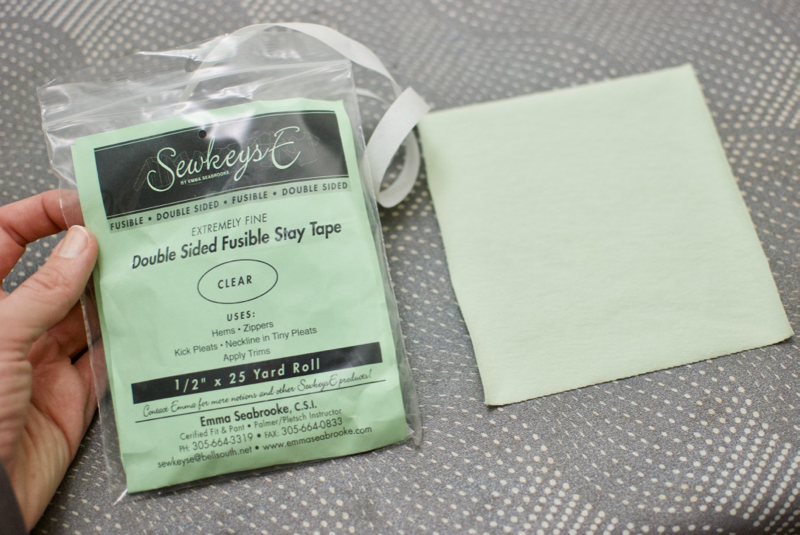
My secret? I use SewkeysE double sided fusible stay tape in ½” width. I’m not sponsored by SewkeysE. I just love this stuff and use it for EVERYTHING.
Step one, make sure to cut a perfect rectangle. I cut my pocket 5-inches wide by 5.5-inches high. I don’t use a paper template, but instead, pull out my ruler to get an accurate cut.
At the top of the pocket, on the wrong side of the fabric, iron on the stay tape. At this point, I’m going to use diagrams I’ve generated, since my photos didn’t turn out too well. The wrong side of the fabric is grey, the right side of the fabric is green.
Before taking the paper off, fold the top down ½-inch with the wrong sides together using the stay tape as a guide. Now take the paper off and re-press the fold so that it’ll stick to itself.
Next topstitch along the edge. Here are several tips for getting a good topstitch on stretchy knit fabric.
- Reduce the pressure of your foot as much as possible
- Use a straight stitch
- Lengthen your stitch length to 3.5
Now here’s the tricky bit. Instead of using stay tape on the wrong side to hold the fold, I actually apply the stay tape to the right side, so I can adhere the pocket to the shirt instead of pinning. Apply stay tape to the right side of the fabric along each side and the bottom.
Before taking the paper off, fold the sides in ½-inch with the wrong sides together using the stay tape as a guide. Press the sides first, before you press the bottom up ½-inch.
The bottom should be pressed up last. I’ve colored the right side of fabric a little darker to indicate that this is where the stay tape should be placed.
I then clip off a small corner at the top and bottom. These corners like to sneak out from the pocket, and by clipping them, you get a much cleaner pocket.
Now remove the paper and iron the pocket to the shirt front. With the stay tape, it will conveniently hold the pocket in place and there’s absolutely no need to pin a thing! Using the same tips as before, I stitch along the edge like so:
When you get to the top of the pocket, leave the needle down and pivot. I use the hand wheel on my sewing machine to make two stitches across the top. Using the hand wheel gives me much better control than the foot. This is a corner that can easily get caught in the feed dogs and using the hand wheel helps eliminate that problem as well. Once I’ve completed two stitches across the top, I pivot so that I’m able to stitch back towards the side stitching. You can stitch over this area multiple times if you want. My pockets are for “decoration” and not used, so I don’t need excessive reinforcement.
I finish up by stitching the corner on the other side. I start where I left off, but now I stitch to the top of the pocket. Leaving my needle down, I pivot and then use my hand wheel to stitch in two stitches. I pivot again with my needle down and stitch back towards the side stitching. Voile!
Simple, easy, clean t-shirt pockets with just a little stay tape and no pinning necessary. Hope you liked this quick tutorial on how to get perfect pockets on a t-shirt!
Your tutorials are the BEST! Thanks for the excellent sewing tips, especially on knit! I am not ready for this yet, but I am catching up fast. Hope you new class has been a great experience and your well deserved break allows for some sewing time. ❤
LikeLiked by 1 person
Thanks! It feels so good to get back to the blog after a long semester!
LikeLike