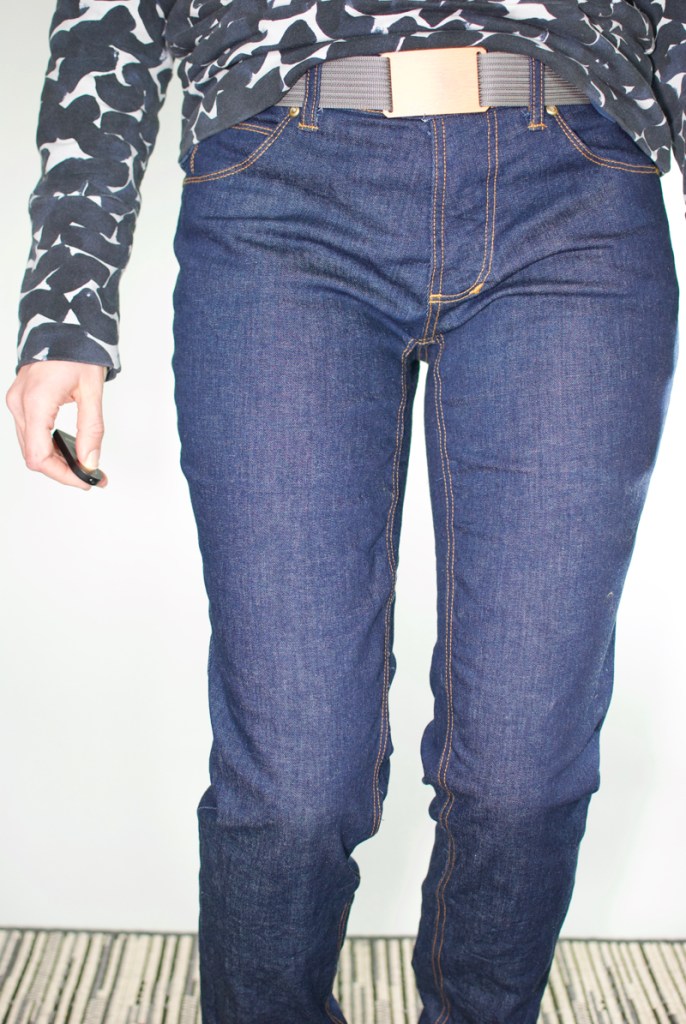
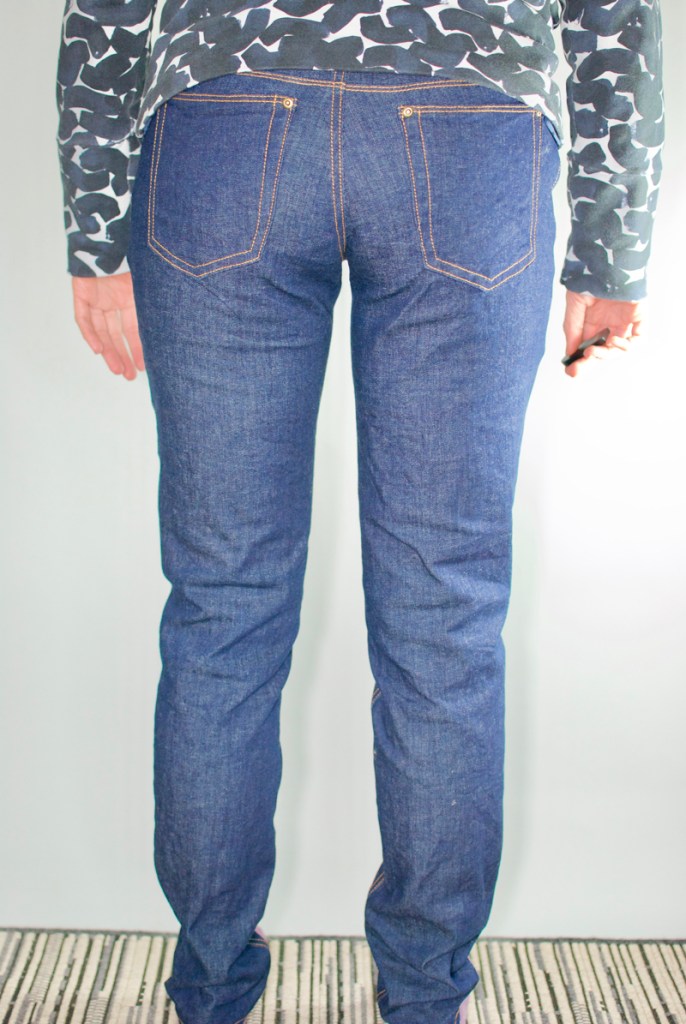
I am overwhelmed with emotions after finishing my first pair of Ginger Skinny Jeans. I’m astonished I could do something like sew jeans and I’ve shed a few tears of joy, because I’ve never had a pair of jeans fit so well.
Notions
- Store: Threadbare Fabrics
- Fabric: 9.5 Oz Cone Mills S-Gene Denim in Indigo
- Notions: hardware kit

I was super intimidated by all the topstitching, but in the end it was one of the easiest things to do. I bought a Babylock Jane straight stitch machine for Christmas hoping it would help motivate me to sew jeans and overcome my fears. I’m so glad I had two sewing machines set up, my old machine for construction and my BabyLock Jane for topstitching. I also didn’t have to futz with tension on my machine to get it to use topstitching thread. Bonus!

The other way I motivated myself was to buy and watch Closet Case Patterns Workshop: Sew Your Dream Jeans. She has some excellent tips, and it was just nice to watch her make jeans and not worry about carefully reading the instructions that came with the pattern. I followed her video instructions and didn’t even bother reading the PDF instructions that came with the pattern. That’s how thorough the video workshop is!
I particularly enjoyed being told when I could baste fit a second time. The front pieces are sewn together, and then the back pieces are sewn together. Before sewing the front and back pieces to each other, you can quickly baste fit a second time to make sure any edits you made were appropriate. In my case, I needed to make more adjustments.
The alteration I made after my first baste fitting was a ⅜” thin thigh adjustment on my front legs. When I did a second baste fitting, I realized that my ⅜” thin thigh adjustment on the front pieces could be increased to ¾” instead. I’m glad I took the extra time to double check fit along the way. The other little alteration I had to do was remove ½” in length. I always cut my pants longer. You can always shorten a pattern, but you can never lengthen it.
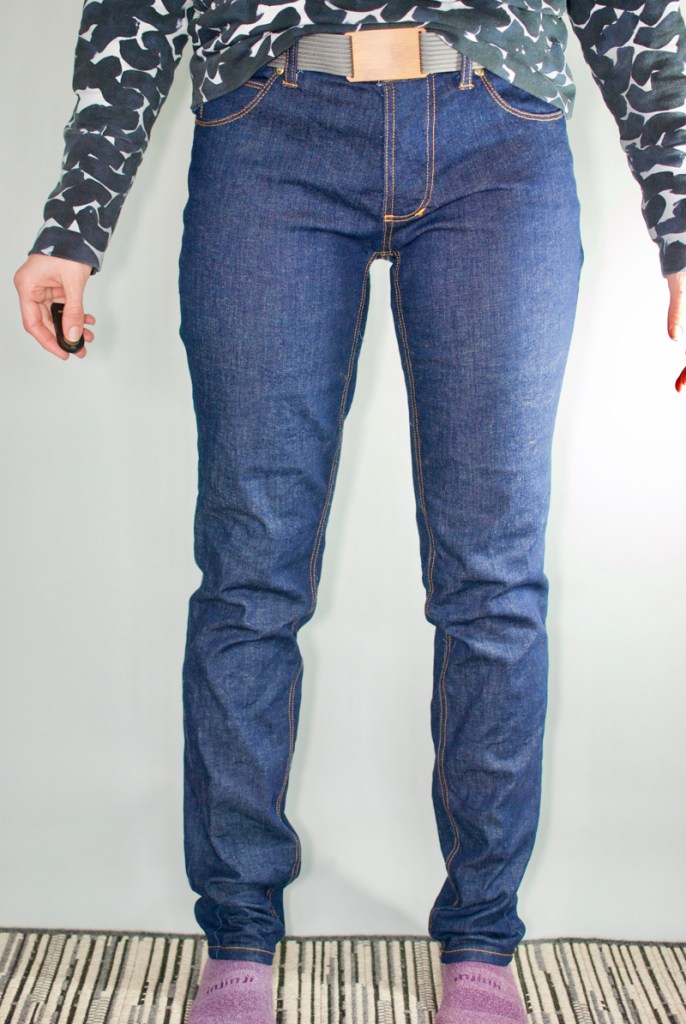
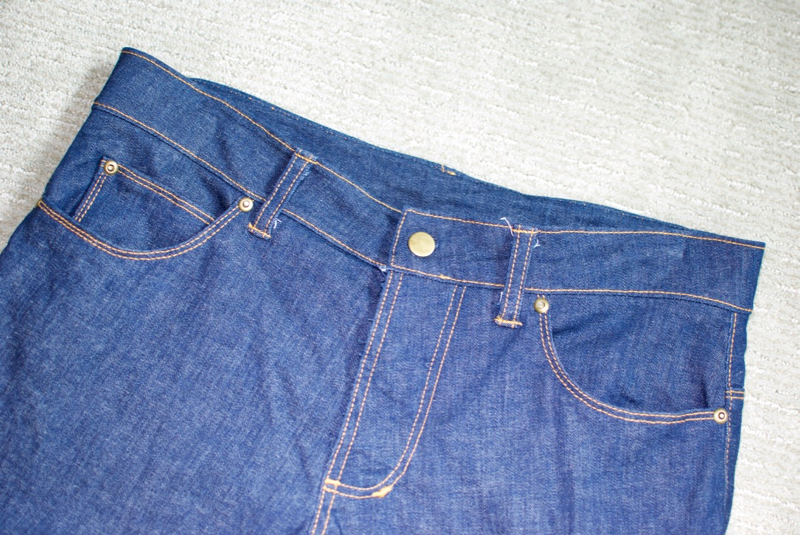
Couple of things I will do differently the next time I sew a pair of Ginger Jeans. First, I will need to curve the waistband a little more.

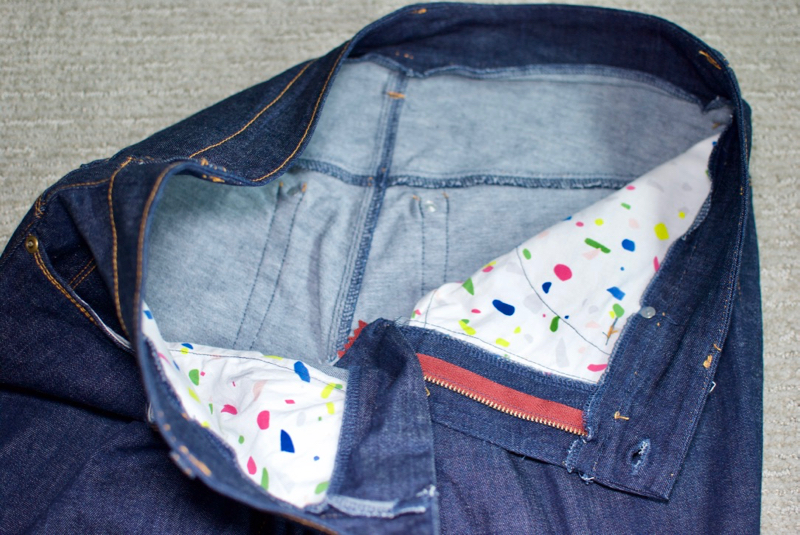
Second, I used denim for both the outside and inside waistband, and I did not interface either. That was a mistake. Next time, I will interface the outside denim and then use the same funky quilting cotton as my pocket for the inside waistband. Using denim for both adds a lot of unnecessary bulk. I definitely need more structure to the waistband, so adding the interfacing will be necessary.
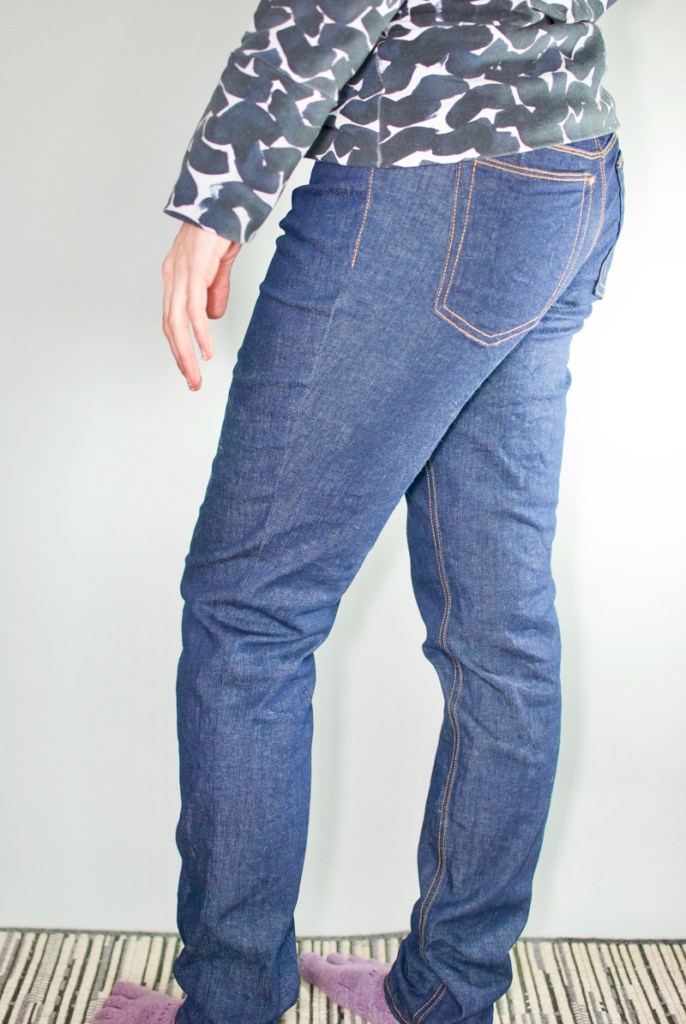
Third, I will make sure I have a hard metal surface for placing rivets. The hardest part of making jeans was the rivets. I made the mistake of using hardwood instead of metal, so the end of the rivet wasn’t mushrooming but just puncturing through and embedding itself into the wood. Luckily, we have a Tandy Leather store in Salt Lake City, and I can get a 2 lbs. mini anvil for $20.

The last little trick I would do is use an alternative method for constructing the waistband. Closet Case Patterns already has a post on their blog about the way I really like sewing together a waistband: https://closetcasepatterns.com/how-to-sew-a-jeans-waistband-alternative-method/. With my Sewkeyse double-sided tape, I’m able to secure the open top easily before I topstitch around the edge.

Subscribe to continue reading
Become a paid subscriber to get access to the rest of this post and other exclusive content.
