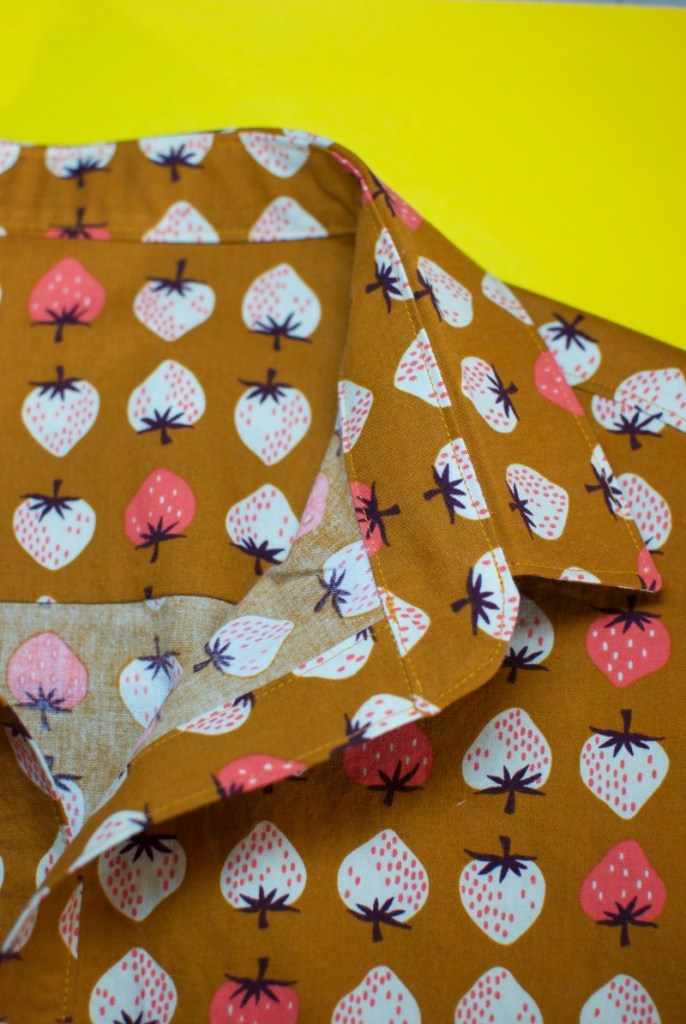
Last year, I found this great tutorial on how to sew a collar to a shirt: http://foursquarewalls.blogspot.com/2013/09/sewing-collar-different-order.html. However, I was still not fully satisfied, because the last step of folding the bottom of the stand resulted in an uneven and bulky seam. Here’s my improved method for getting a crisp, clean collar on a shirt.
Get Ready
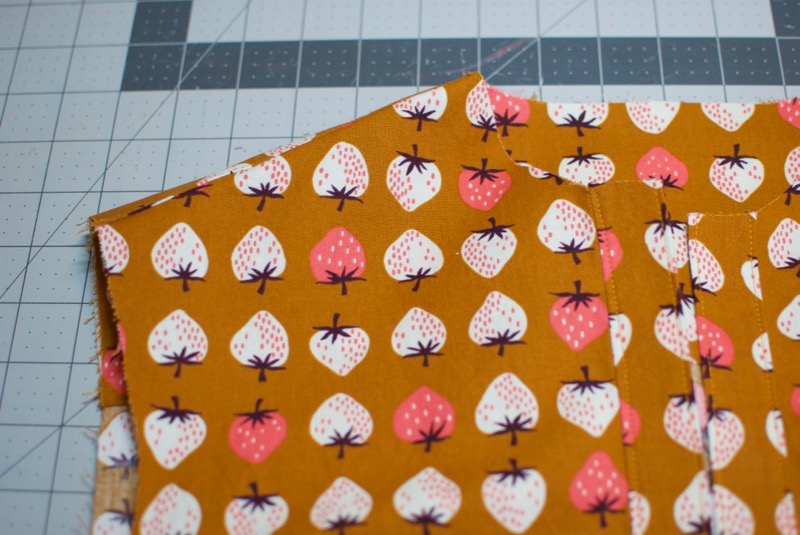
Sew your shirt fronts and backs together according to your pattern. Every pattern is a little different, but essentially you’ll want your front button band completed and your shirt front and back sewn together at the shoulder seam.
Get Set
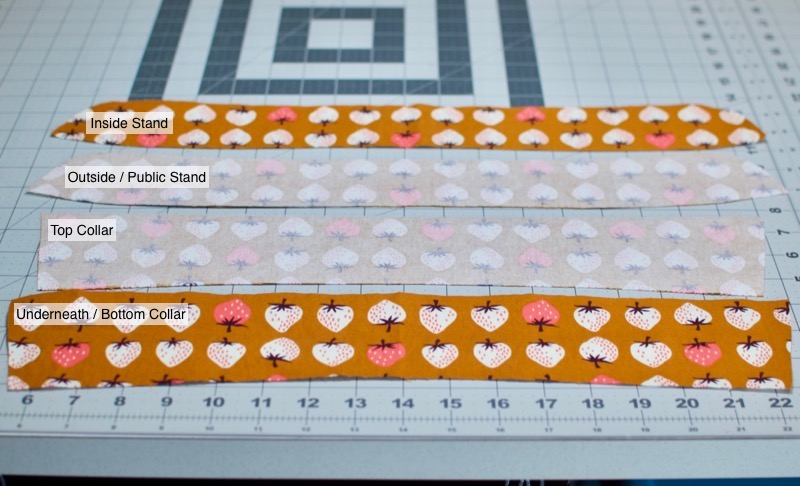
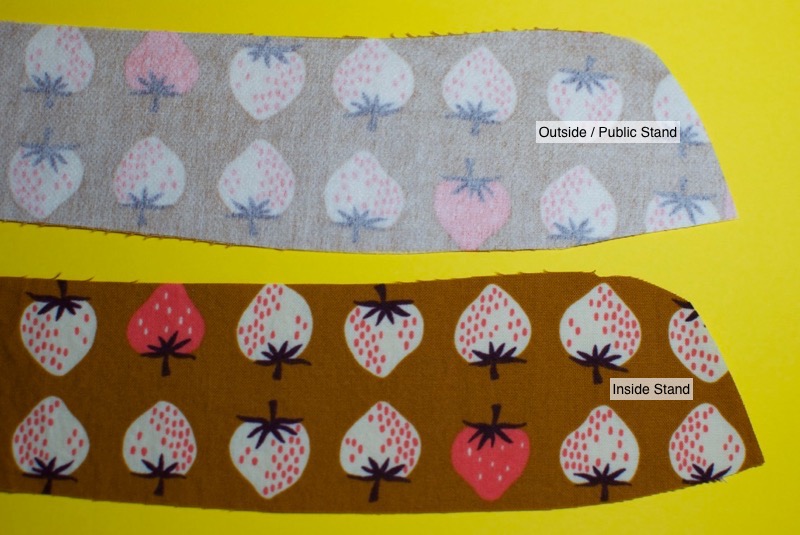
Just so we are all on the same page, I’ve labeled my collar unit pieces. You should have two stands and two collars cut out. I interface one stand and one collar. I leave the second of each not interfaced. The “public” or visible-to-people pieces are the ones I interface, so the outside stand and the top collar when pressed correctly.
Outside Stand
First, I attach just the outside / public stand to the shirt. If you want to live dangerously, you can try to attach both stands at the same time, but I prefer to be careful. Attaching the outside stand to the shirt is a little tricky, because you are sewing a curve. I constantly get pinches in my shirt fabric that I have to seam ripe and do over, so that’s why I do one stand at a time.
If you are not completely familiar with attaching the collar, the order goes, interfaced (outside / public) stand and shirt, RIGHT sides together.
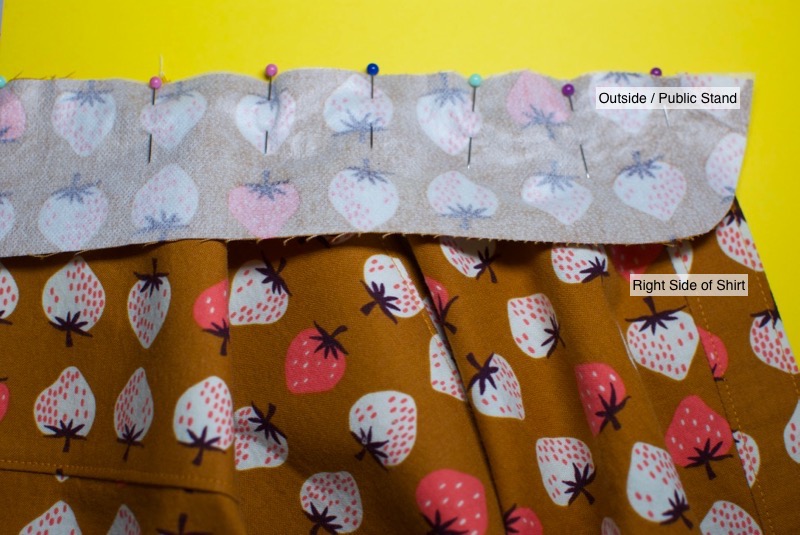
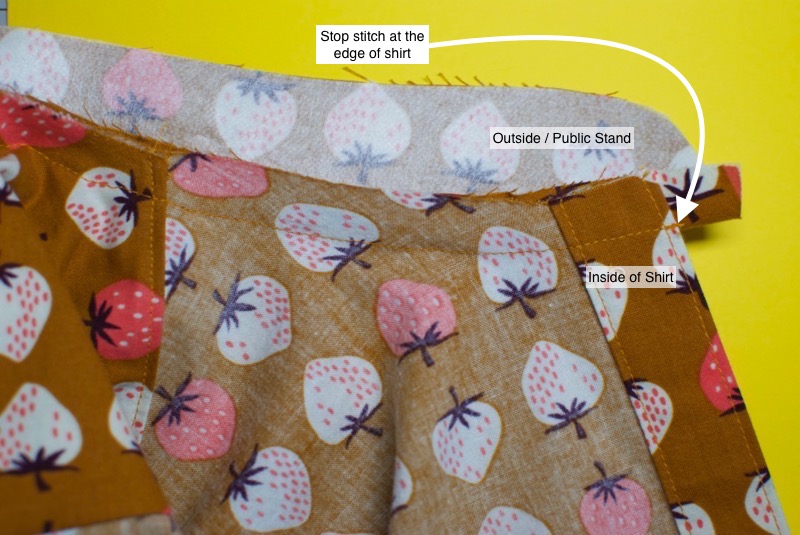
Stitch together with your pattern’s seam allowance. Make sure you start and stop your stitches at the edge of the shirt.
Inside Stand
Once I have verified that my outside stand and shirt are sewn together cleanly (i.e., no puckers), I will attached the inside stand next. The order for this is RIGHT side of inside stand to WRONG side of shirt. You should have a collar stand sandwich with the shirt between the two stands.
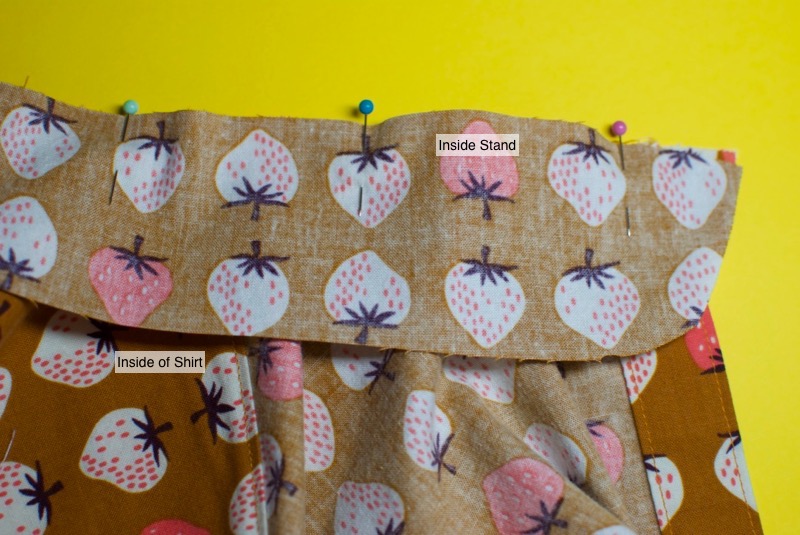
I will use the original stitch line from when I attached the outside stand as a guide. Just make sure to sew right along the first stitch line, or just within the seam allowance. Don’t go over and stitch more than your seam allowance.
Sew Together
Now here’s the ingenious part, sew the two stands together using the “burrito” method. It is called the burrito method, because like a burrito, you roll your shirt edge away from stand, so you can sew the stands together without catching the shirt.
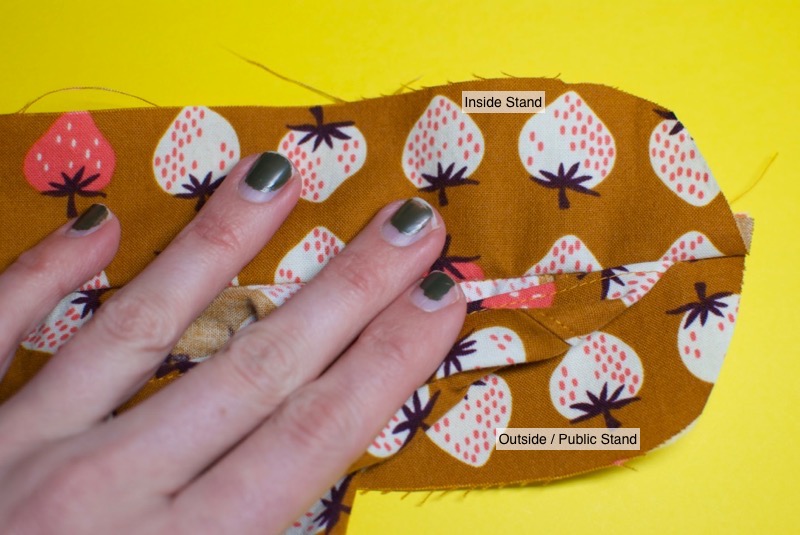
Burrito roll up the shirt and then carefully stitch around the curve of the stand. Don’t need to stitch too far past the curve, because it’ll need to fit your collar in the remaining opening.

Subscribe to continue reading
Become a paid subscriber to get access to the rest of this post and other exclusive content.
