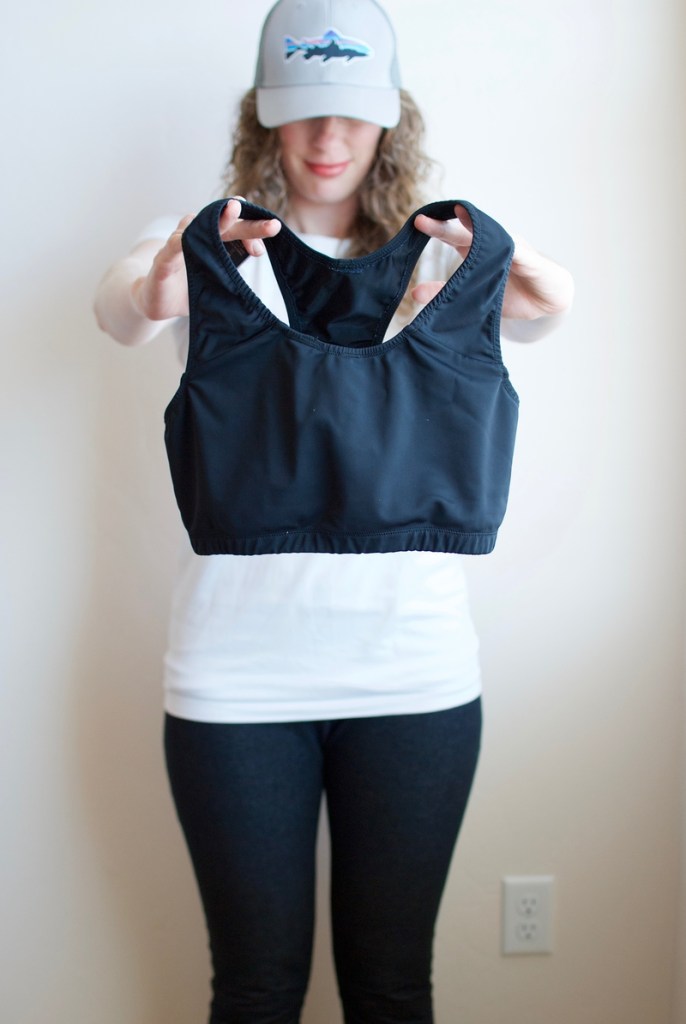
For the last few years, I’ve really struggled with wearing any sort of bra with a 35 lbs. backpacking pack, because either the straps rub wrong under the bag or the combination of a strap and a backpack was just too much. Last year I got a really great pack and thought all my troubles were over, but a few trips later and I was still having issues. Couple of weeks ago my hubby and I went backpacking on a longer trip and the situation got really really bad. I pinched a nerve in my trapezius so bad that I lost the ability to move my arm, because I was in so much pain! At that moment, I knew I had to take on the task of sewing my own sports bra. Based on online reviews, I decided the best pattern to try was Jalie 2563 sports bra.
The fabric of choice was surprisingly Cosplay by Yaya Han 4-Way Matte Solid Fabric from Joann’s. It is hard not to go and buy 20+ yards of each color! The nylon has perfect 4-way stretch, is both lightweight and sturdy, and absolutely a DREAM to wear. For now, I’m sewing with black, but I really love the fabric that I will eventually will get all the colors, I’m sure.
When I first made a muslin of this pattern, the side seams were pulling forward at the top. Apparently, this pattern wasn’t intended for a larger bust? Not sure what was going on there, but all I needed to do was add 1/2″ to the top front body piece and remove 1/2″ from the back body piece. I didn’t change the width of the pattern at all, just shifted the side seam backwards. Now the pattern has the side seam going straight along my side and isn’t pulling weirdly in any way.

The other thing I learned from my muslin was that I really needed to add length to the shoulder seam. Luckily the seam hit perfectly on the top of my trapezius, so I didn’t need to do a forward or back shoulder adjustment. All I needed to do was add 1/2″ to each side of the seam to give myself an extra inch.

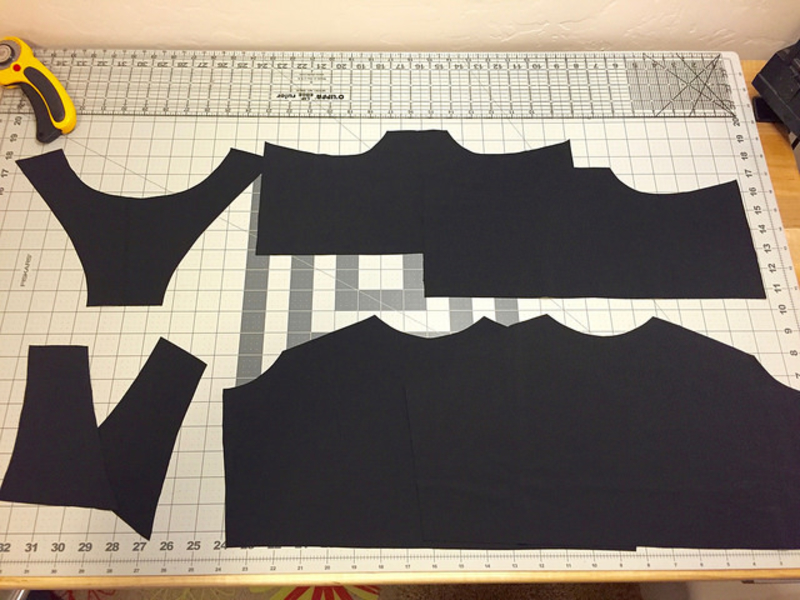
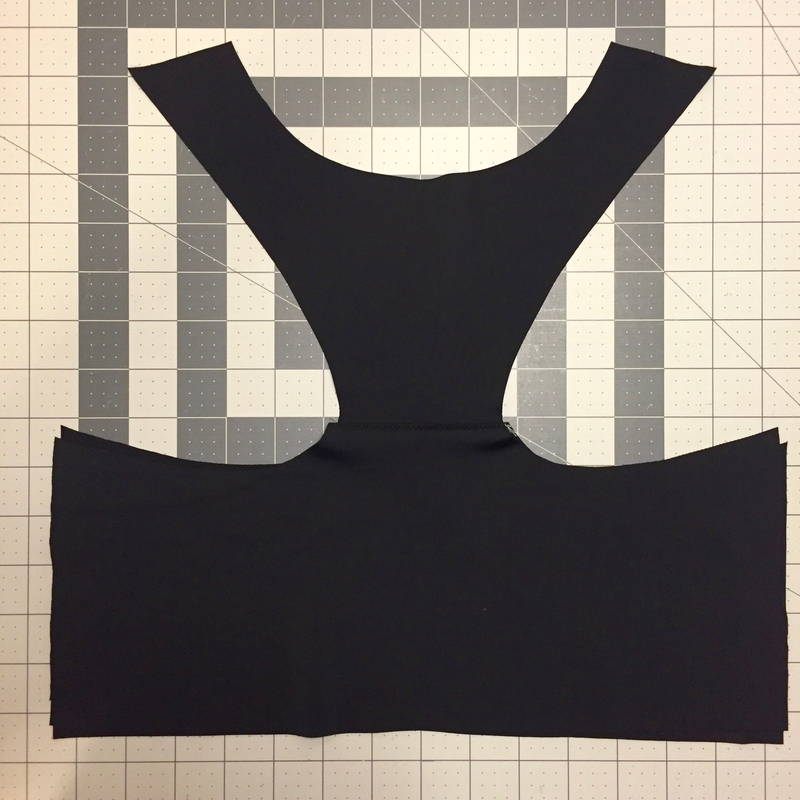
Luckily so many people have already made this bra, so I had a lot of online help. After getting the pattern and seeing the instructions, I was grateful I had rather a lot of sewing experience. The instructions are very basic in my opinion and there needs to be way more help. The pattern leaves a ton of seams exposed and not a lot of support per se. First change I made, I cut 2 front and 2 back pieces so I could hide seams.
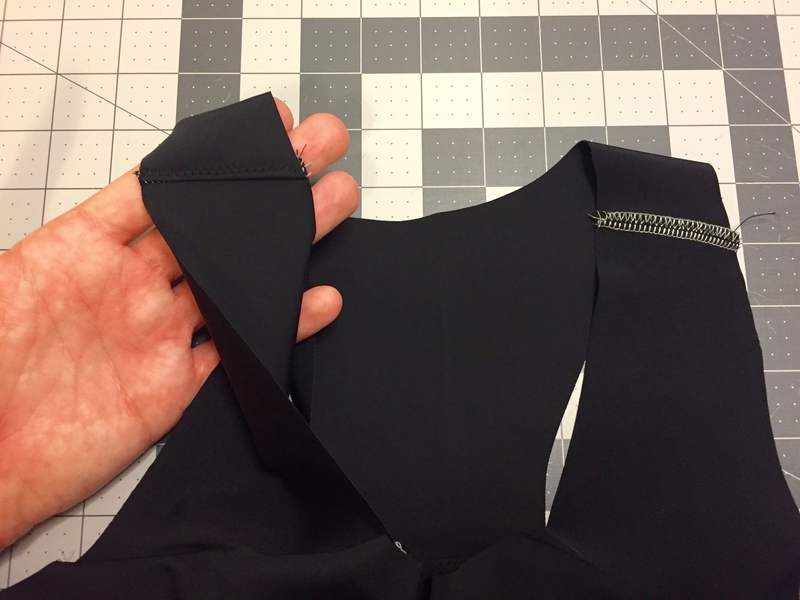
I wanted to enclose the seams as much as possible. To sew the front straps to the front, I layered the inside lining piece right-side up, the strap right-side up, and then the “public” front piece wrong-side up. The straps were therefore sandwiched between the two front pieces.
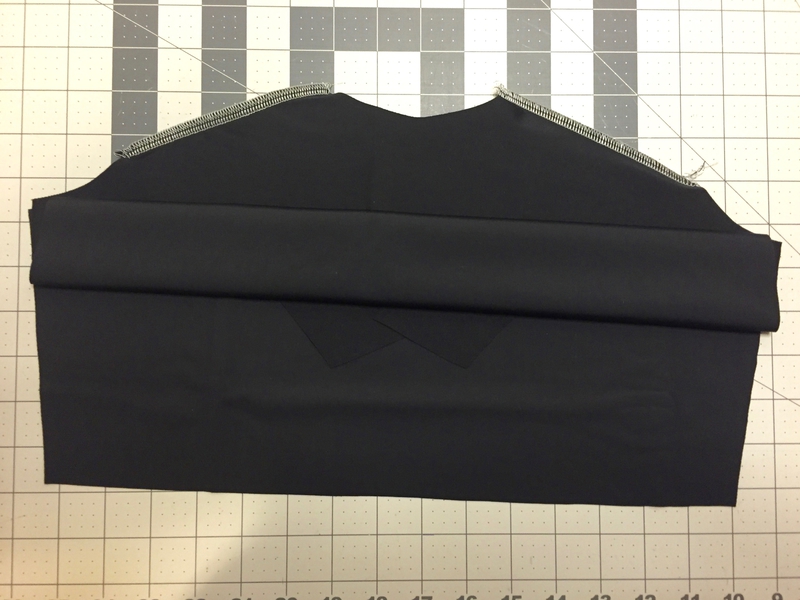
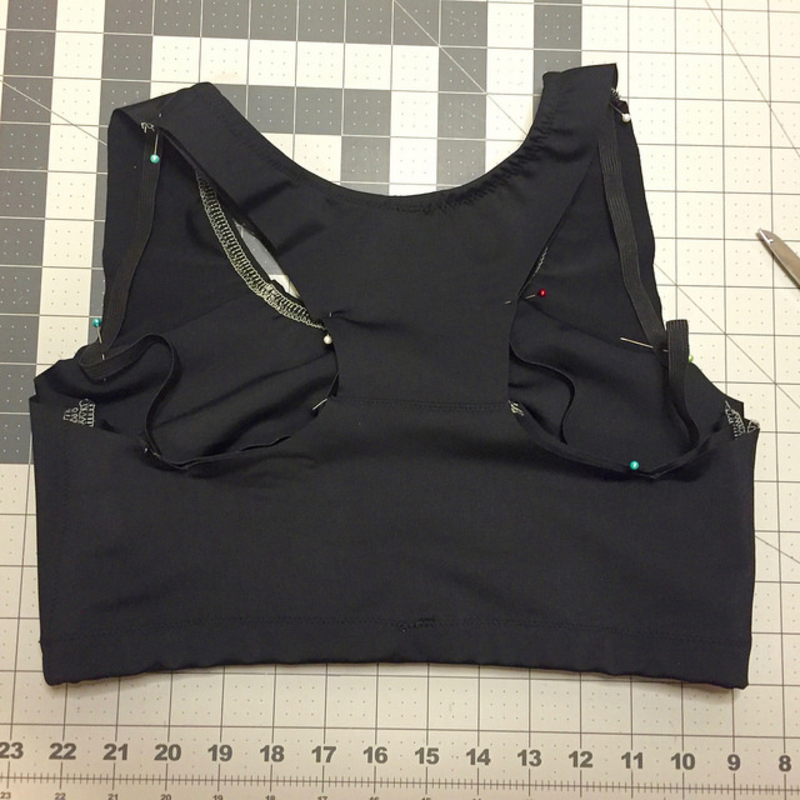
I did the same sandwich method for the back piece as well. When you are all done, the seam should be hidden between the two body pieces. At this point, I also zigzag stitched the seam to the “public” body piece just to stabilize the seam even more. You cannot easily tell in the image, but there is a zigzag stitch. I didn’t want to zigzag stitch to the inside lining piece, because that’s more stitching to cause chafing!
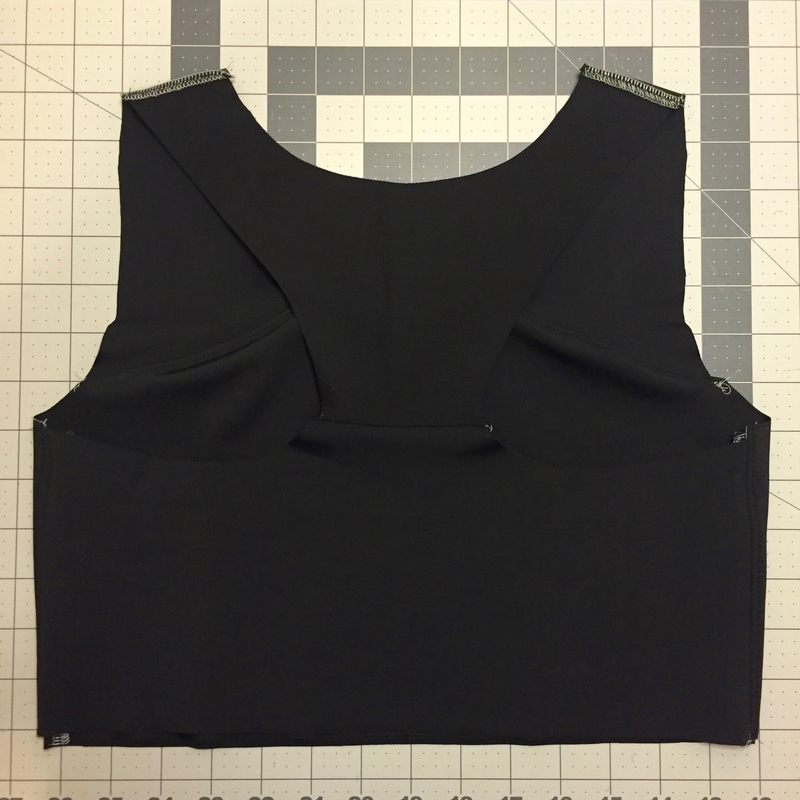
With the “public” right sides together, I sewed the shoulder straps together. These are the only exposed seams on the inside. I also zigzag stitched these seams backwards to better stabilize the seam again.
Next, I sewed the sides seams, attaching the front to back, right sides facing, and the lining front(s) to lining back(s) also right sides facing. There should be a little gap at the underarm. I again zigzag stitched the seams down. For the “public”, outside I sewed the seams toward the back and for the lining, I sewed them towards the front so when the seams came together, they’d nest.

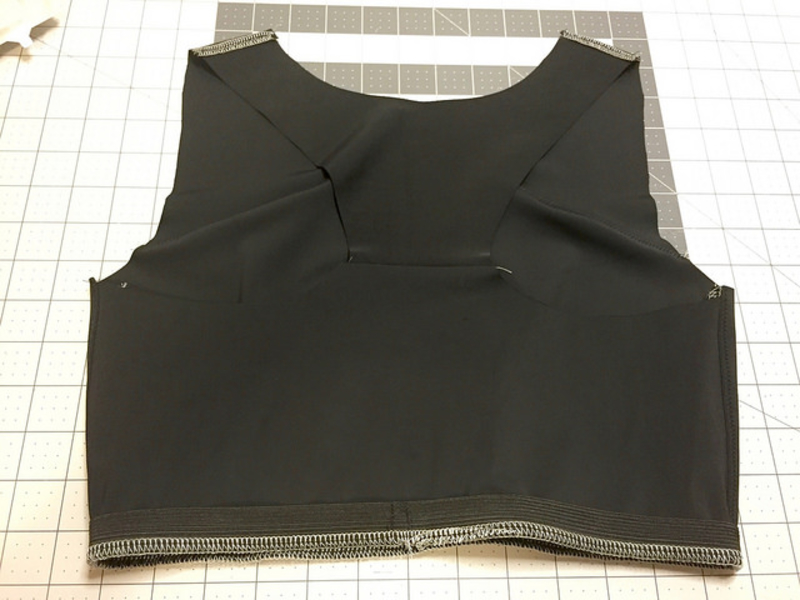
At this point, you can try on the sports bra to see how it fits. As you can see, the only exposed seam on the inside is the shoulder seam. All the other seams are hidden. To make my life easier, zigzag baste the raw edges together. I didn’t want to fight the two pieces of fabric slipping when attaching the elastic.
I used 3/4″ width elastic for around the waist. The pattern says I need to use 29″, but that was too loose, so I went down to 27.5 inches. On the inside, attach the elastic using a serger or zigzag stitch. I didn’t do it here, but I think in the future, I’m going to use maxi lock stretch thread in the upper and lower looper. The thread is much softer against the skin and will help reduce chafing.

Now that your elastic is sewn onto the wrong side, you’re ready to finish the edge. Fold the elastic over to the wrong side of the fabric and zigzag stitch the elastic down.

For the neck and arm holes, I used 1/4″ elastic, even though the pattern called for 3/8″ elastic. I wanted a wider shoulder strap and didn’t need a lot of elastic here, because of my fabric. Because I added an 1″ to the shoulder seam, I had to change the amount of elastic I needed. For the neck, I used 25″ and for the arms, I used 23 1/4″.
I tried out the bra by going for a 6 hour hike. It was lovely. The fabric is just the best thing in the world! The sports bra is comfortable and doesn’t rub in anyway wrong. I’m still going to use better thread in my serger, just to make the bra more comfortable, if that’s even possible.


IF YOU FOUND THIS POST HELPFUL, CONSIDER SUPPORTING MY WORK BY SIGNING UP FOR A PAID SUBSCRIPTION.
POSTS OLDER THAN 3 MONTHS ARE NOW FOR SUBSCRIBERS ONLY — YOUR SUPPORT KEEPS THIS SPACE GOING.
INTERESTED IN SUBSCRIBING TO RECEIVE NEW POSTS IN YOUR INBOX?