I have made a long list of pants that all ended up in the trash bin, because I am not a fit off the rack body type.
I was quickly, so over the Sew Over It Ultimate Trousers pattern. Then I tried Burda 7062 Fitted Pant and nearly wadded up the pattern in anger. I even tried Colette Clover Pant. At this point, I just gave up on trying to fit pants. I didn’t know if I needed to scoop out the crotch more or let out the hips. I was making full butt adjustments and thick thigh adjustments and oh dear…it…was…an…utter…disaster!
In the downtime of abandoning pants, I did learn how to sew a button down shirt and that success gave me the confidence I needed to tackle the scary pant fitting again. I had seen a lot of people have success with Simplicity’s 2860 Amazing Fit Pant. I figured that if I could just get the crotch length figured out the rest of the fitting would be easy peasy. I wasn’t disappointed. For starters, figuring out your size is probably the most difficult step. I “fit” perfectly as a size 18. My waist is 32″ and my hips are 42″. What’s really cool though is that is just the beginning. Next you need to measure your total crotch length, mine was 27 ¾”. You also need to measure your back crotch length: 15 ¾”. Based upon my measurements, I needed to sew a size 18 curvy!
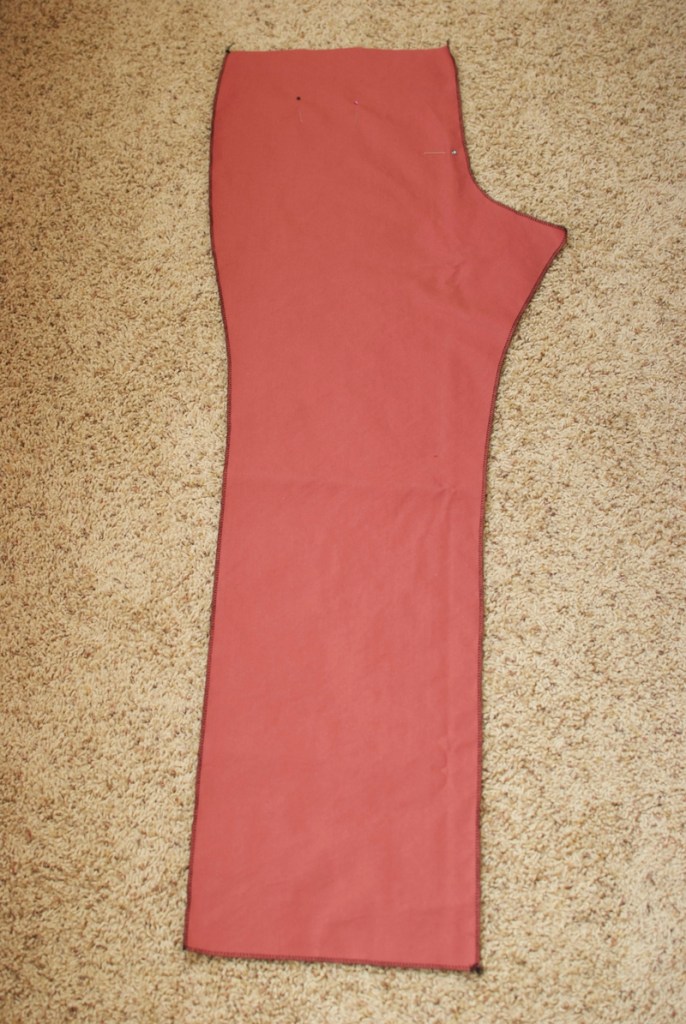
Let’s get started! First, I finished all my edges with the serger.
I also sewed my underlap along the curved unnotched edge, RIGHT sides together. Trimmed the seam, turned underlap, and pressed. I used the serger to sew raw edges together.
With RIGHT sides together, I sewed my two front sections together from the notch up to the large dot.
This part can be confusing, you want to clip the RIGHT side front section at the large dot.
On your RIGHT front section, sew the fly with RIGHT sides together. Stitch from the dot to the top of the pant.
Trim the seam. Open fly and press seam toward fly. My seams didn’t want to press!
Place closed zipper face down. I ignored the Simplicity instructions here, because the zipper was too close to the edge for me. I placed the metal bottom of the zipper ¼” above the large dot and I lined up the zipper tape edge with the fly seam. I did not extend the zipper tape ¼” over the fly seam. That resulted in a bad zipper for me. Stitch zipper on RIGHT edge of tape, as shown below.
Turn (fold) fly to inside and press. On OUTSIDE, stitch RIGHT front. Be sure to turn up the LEFT zipper tape to keep it out of the way, as shown.
Now clip ⅜” the LEFT front at the large dot. Press under. Sew LEFT zipper tape to LEFT front section.
Lining up the underlap with the LEFT front zipper, stitch through all the thickness. When done, CLOSE your zipper!!!
Making the belt loops is super fun and easy. Fold in half lengthwise with WRONG sides together, press to form a crease. Fold the long edges in again so they meet along the center crease. Stitch along both long edges. Cut 5 carriers each 3 ¾” long. On OUTSIDE, sew carriers to upper edge of each pant front and back. Make sure your raw edges are even. I also sewed inside my seam allowance (i.e., ½”). If you are a curvy fit like me, don’t forget to sew in your darts.
Sew FRONT leg to BACK leg along the inseam, RIGHT sides together.
Finish sewing your legs together. Sew the center seam and then your side seams.
You can add the carrier to the center back now. At this point, I stopped taking photos, because I was so excited to finish up my pants. The hard part is really done and the rest of the steps are easy. Sew together your interfaced waistband and attach it to your pants. Press seam allowance towards waistband. And make sure your waistband extends beyond your pants! I never seem to stretch my waistband enough. On the OUTSIDE, turn up carriers, keeping raw edges even, sew the carriers to the waistband.
Encase lower edge of waistband facing with double fold bias tape.
With RIGHT sides together, sew facing to waistband. Don’t forget to sew the edges too. Understitch seam allowance to facing and then turn facing to INSIDE and pin in place. On the OUTSIDE, stitch in the ditch making sure to avoid the carriers.
Now I definitely recommend making a muslin with this pattern. Although I was able to get everything to fit in the crotch area, my pants were HUGE!! I ended up taking in over 1″ on each side seam. But those adjustments were easy, because I was able to just pin the pant along the side seam and could see my adjustments.
I’ve already made two pairs of pants. One in a bull denim and the other in a stretch denim from Jo-Ann’s. I don’t care if the woman at Jo-Ann’s called me a leprechaun for making green pants. I have finally succeeded at making a decent pair of pants!