
I’ve been printing my own iron-on direct-to-film (DTF) labels since 2022. This will be my fifth year making clothing labels, and I get so much joy seeing them in my garments, each one stamped with the year and a silly quote or saying. I have been using Transfer Superstars to print my labels and have been beyond impressed with their quality. The labels are amazingly resilient. The fact that I still have labels from 2022 on my clothes that haven’t cracked or peeled off is a testament to their durability.
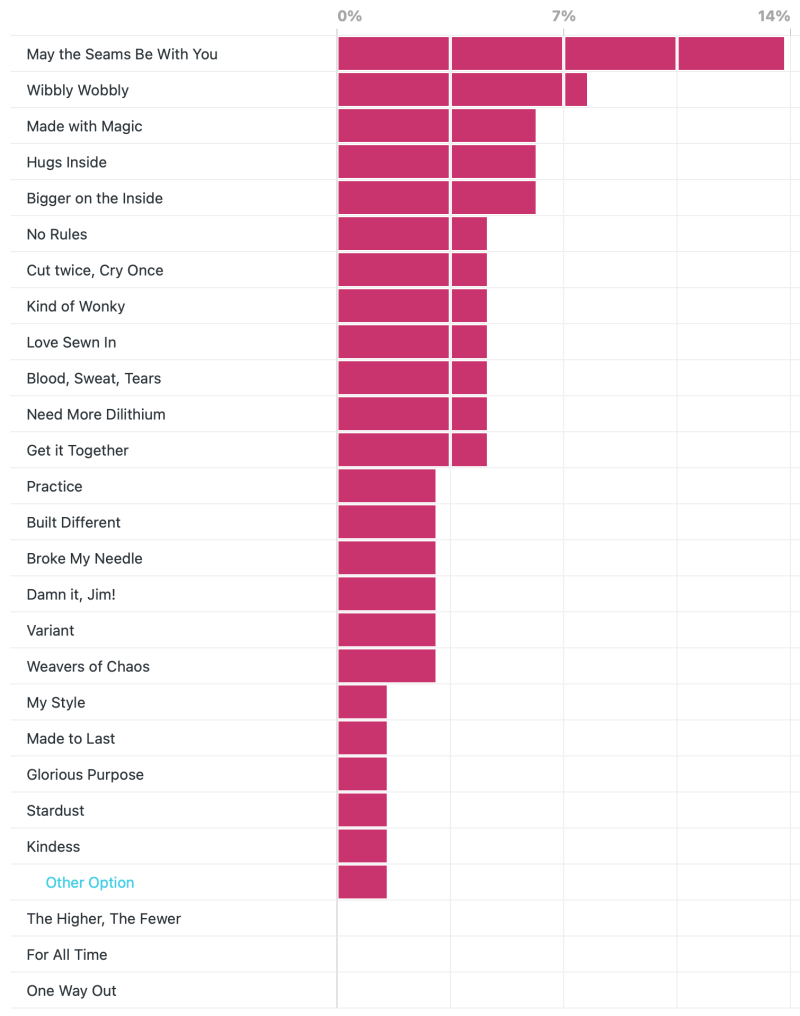
Poll Results
Thank you to everyone who voted for their favorite labels at the end of my Motion Shorts post!
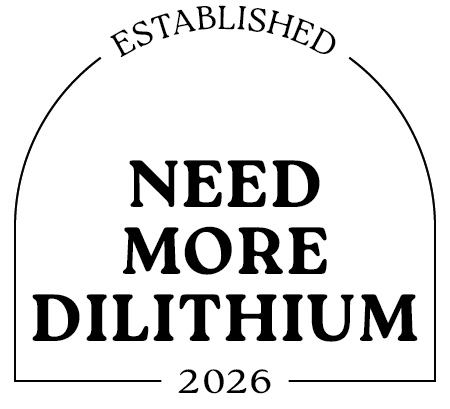
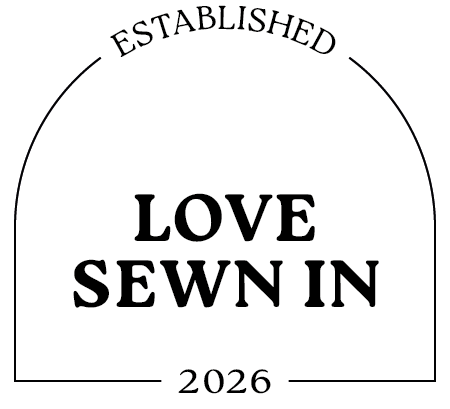
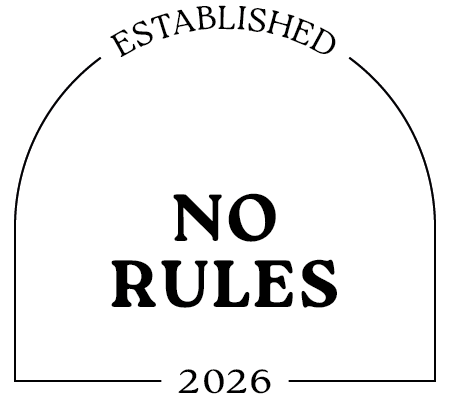
2026 Designs


Download
This year’s labels are 1.5 inches wide by 1.3 inches tall. I have 11 different designs with 7 copies of each label, for a total of 77 labels for the year. Click the button below to open a tab to Gumroad, where you can download the Adobe Illustrator and exported PNG files:
Transfer Superstar Printing Guide
Printing used to be a bit more difficult, but they’ve updated their website so printing is easier. Here are the steps I took to print one page (77 labels). I skipped the option to have them pre-cut my designs, since it’s easy enough for me to cut my own.
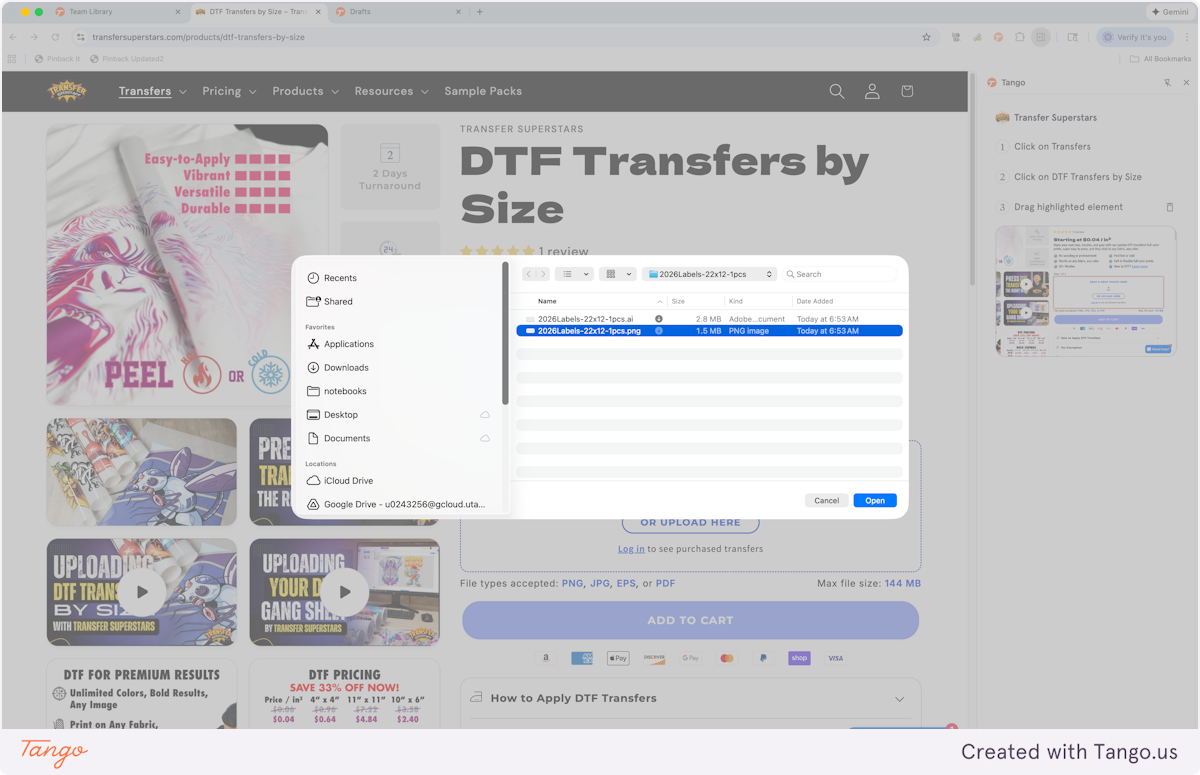
Step 1: Click on Transfers in the upper left corner.

Step 2: Click on DTF Transfers by Size

Step 3: Click on box to upload PNG file

Step 4: Select “2026Labels-22×12-1pcs.png” from file upload menu
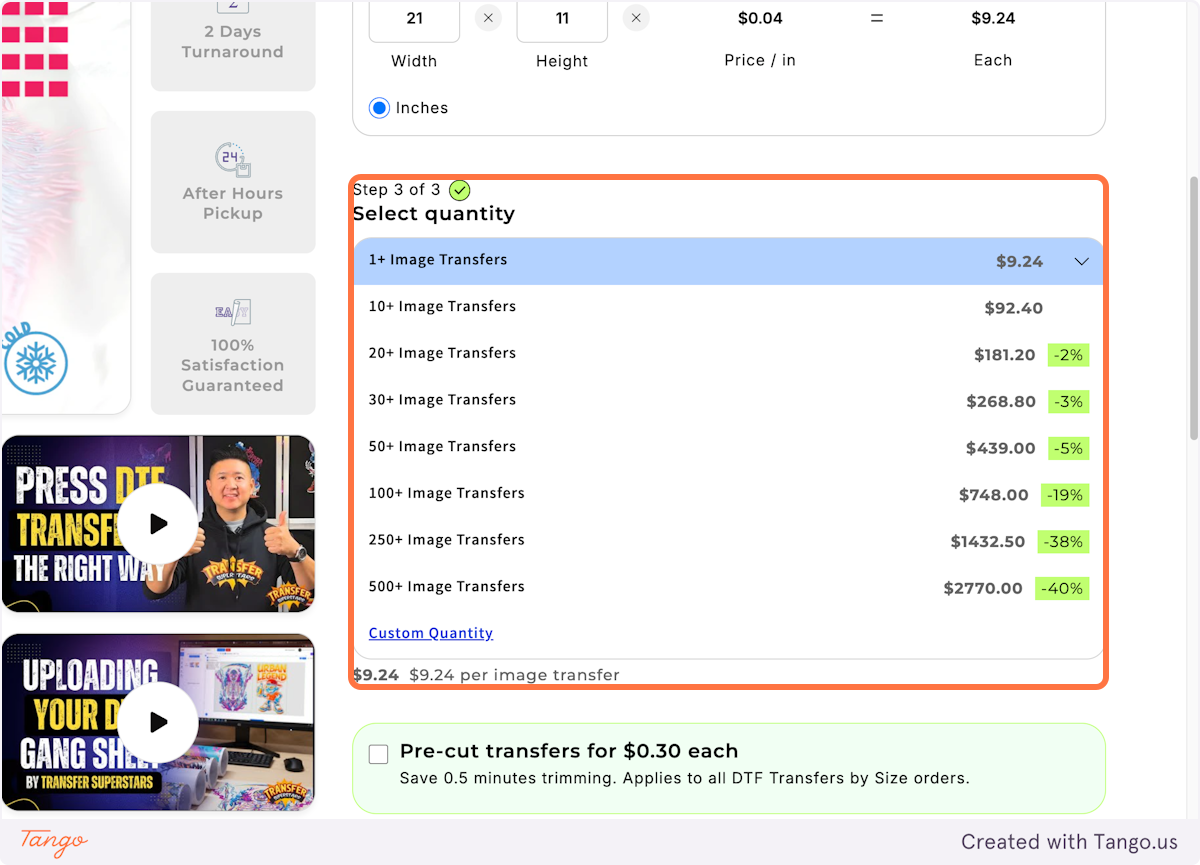
Step 5: Double-check width and height are correct

Step 6: Select quantity
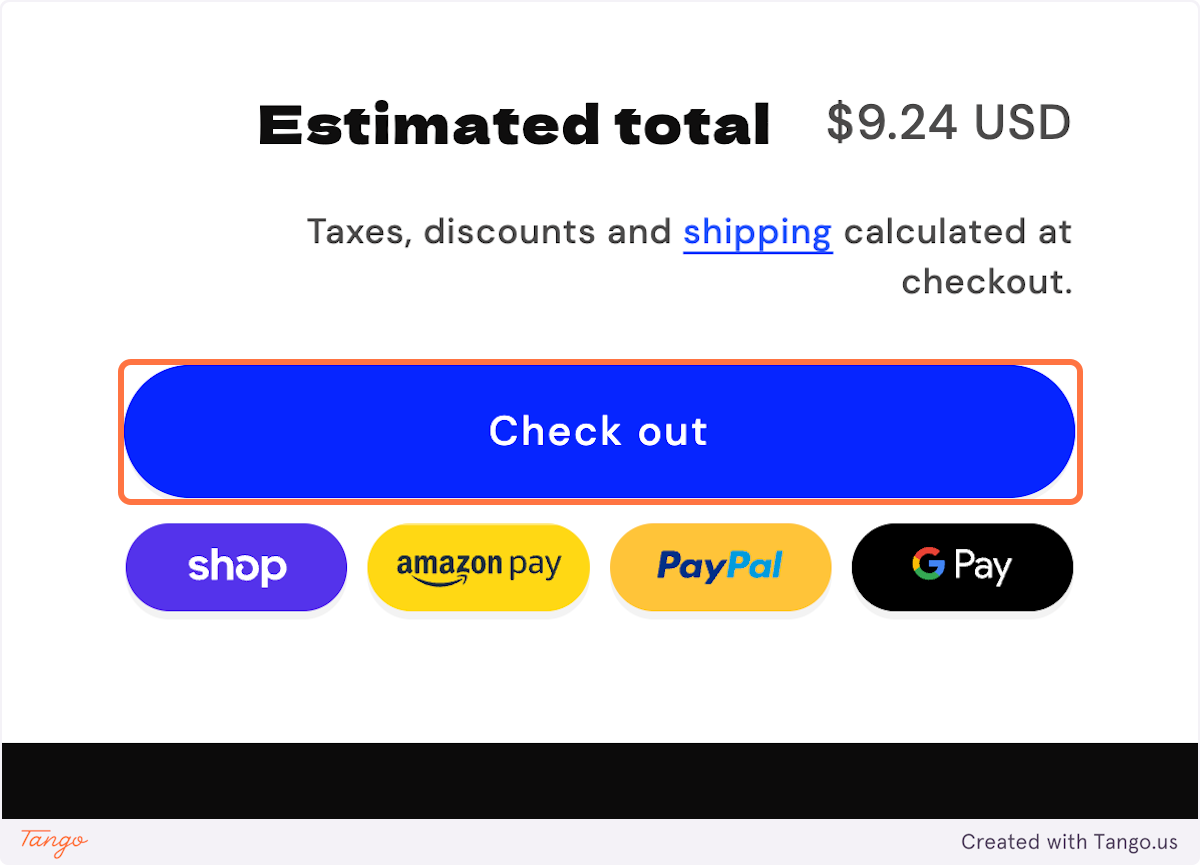
Step 7: Click “ADD TO CART” when done

Step 8: Click on “Check Out” when you are ready to pay
Helpful Tips

How to Export Adobe Illustrator to PNG
You can just use the PNG file I provide, but if you want to make changes to my design, here’s how to export from Adobe Illustrator to PNG:
- Choose File > Export > Export As.
- Select a location for the file and enter a filename (e.g., Description-LengthxWidth-Copies.png [2026Labels-22×12-1pcs.png]).
- Select the PNG file format Save As Type (Windows) or Format (macOS).
- Select Use Artboards in the Export dialog box.
- Select All.
- Select Export.
PNG Export Options
- Set the Resolution to High (300 ppi).
- Set Anti-aliasing to Type Optimized (Hinted).
- Deselect Interlaced.
- Set the Background Color to Transparent.
- Verify the PNG file is 22 inches by 12 inches, has a transparent background, and matches the screenshot above.
How to Apply Labels
- With your iron at 300°F, pre-press your garment for approximately 10 seconds to remove excess moisture. (I use a small Cricut EasyPress Mini set to Medium.)
- Place your clothing label on your garment and press again for 10 seconds with heavy pressure.
- Let the label cool for 10–15 seconds while wiping along the edges with a microfiber cloth.
- While the label is warm but not hot, carefully grab a corner of the film and peel. If the edges start to lift, try peeling from another location. The film will peel off easily once the area has cooled just enough.
- Flip the film over, lay it on top of the clothing label, and press again with hard pressure for 10 seconds.
IF YOU FOUND THIS POST HELPFUL, CONSIDER SUPPORTING MY WORK BY SIGNING UP FOR A PAID SUBSCRIPTION.
POSTS OLDER THAN 3 MONTHS ARE NOW FOR SUBSCRIBERS ONLY — YOUR SUPPORT KEEPS THIS SPACE GOING.
INTERESTED IN SUBSCRIBING TO RECEIVE NEW POSTS IN YOUR INBOX?

Hi Naomi. Do you just cut the labels out with your scissors. Pretty basic question but I am not familiar with this product. It looks very good. Thanks for sharing.
Yes, you can easily cut your labels out with scissors or a rotary cutter. Anything will do the job.